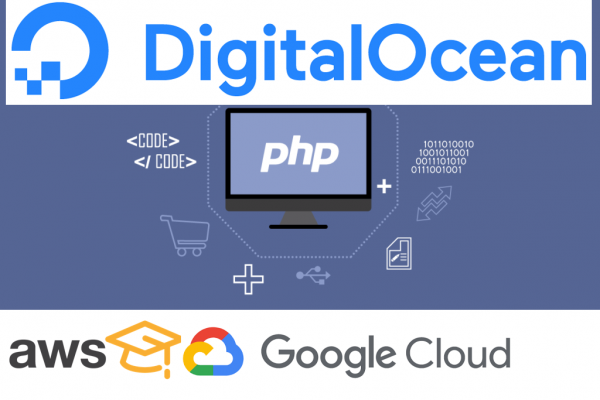
Complete steps for deploying laravel web application to cloud server (digital ocean droplet)
Database: MySQL, Webserver: Apache2 Programming: Laravel 7.0
In this post, I would like to prepare complete steps of how you can deploy your laravel web application to a cloud server like digital ocean, just like this website NEST CODE. Nest Code is a blog web application that is built by using Laravel 7.0 integrated with laravel-blog package, MySQL 8.0, PHP 7.4, and Apache2 Web Server. I have shared a few posts related to some setup of PHP, MySQL, and Apache2 but it's separate from the step by step which is why I combine together in this post in case you use the same technology as mine to develop your web application. :)
Laravel has very easy and simple documentation to set up your first web application using composer or laravel installer https://laravel.com/docs/7.x. You can follow them a few steps and you are ready to build your first ever web application using Laravel. There are some prerequisites needed to run your laravel web application. PHP, as you may already know that laravel is a modern MVC framework developed on PHP language which means you have to have PHP installed on your computer as well. If your application has to store or read data, you must require a database software setup too. MySQL, PostgreSQL, MongoDB are among the popular database management system that is widely used around the world. I decide to choose MySQL because it is easy, compatible, widely known among software developers. Finally, in order to run your laravel web application, you have to have Apache which acts as a web server to provide services to end-user (All users request content, data, images, videos to your web application)
There is a software called Wamp Server that combines all the stuff above (PHP, MySQL, and Apache) so you just have to download and install it then you will have all the 3 software on your computer to begin your web application project. ;)
Once the local development environment has been set up then it's your time.....
coding . . . . 
coding . . . . 
coding . . . . 
coding . . . . 
OK DONE, I AM DONE . . . LET DEPLOY. . . .
After complete your web application development on your local computer, you have to upload your work to a server in order to allow all users around the world to use your service. There are three methods you can choose to bring your work to the server:
- Hosting on your own server is a very expensive approach because of cost, maintenance, knowledge of infrastructure and network, etc...
- Hosting on a shared server is a traditional way and popular among none technical people. A shared server means that the server you rent from the service provider does not only serves your web application but also other web applications as well.
- Hosting on a dedicated cloud server is a modern way and freely manageable way of controlling your server on your own.
You can follow this step by step link of how you can own your dedicated server in the cloud
Steps to Own Your First Digital Ocean Cloud Server or Droplet Or click here to sign up with digital ocean now

Create New Account in Amazon Web Service (AWS) and Own Your First Cloud Server EC2

It depends on which type of database management system you are using, you have to install it on the server as well in order to store your vital data. You can follow this link to install and secure MySQL Installing MySQL8 into Your Newly Cloud Server and then you can backup your table structure and restore in the server and finally changing your configuration as needed. Installing apache2 web server in order to provide service to users whenever they request your URL by following this link How to install apache2 on your cloud server ubuntu 10.04. Finally, installing PHP and its common extensions based on the version of laravel application you used which also compatible with versions of MySQL and Apache2. Install PHP and Common PHP Extensions for Compatible with Apache2 and MySQL
After following the 3 steps above, your web application is now available for use. However, your website will serve as HTTP which is not recommended by web standards. Your website should server as HTTPS for securing your content via transmit through the internet. There are many ways to configure your Apache2 server to serve content in a secure way but let you the free one using Let Encrypt, software to enable your apache2 webserver to serve content in HTTPS mode. Let follow this link to configure Apply HTTPS to Your Website with Let Encrypt for Free. Finally you can also do some SEO optimization if your website or web application needed to improve search ranking in Google The practical SEO rules to apply to your website for further optimization
THANK YOU FOR SUPPORT, LIKE AND SHARE !!!
About author

SETHA THAY
Software Engineer & Project Manager. I am willing to share IT knowledge, technical experiences and investment to financial freedom. Feel free to ask and contact me.
You may also like