Create New Account in Amazon Web Service (AWS) and Own Your First Cloud Server EC2
Amazon Web Service (AWS) - Amazon Elastic Compute Cloud (EC2)

In the previous post, I have written about owning your first cloud server with the digital ocean which is called droplet. As you may already know that there are many cloud services besides Digital Ocean such as Amazon Web Service (AWS), Google Cloud, Microsoft Azure, etc. In today's post, I would like to show you step by step how to register a new account, create a new cloud server (EC2) and connect to EC2 via SSH for Amazon Web Service. When creating a new account in AWS, you automatically are in the free tier which means you can use some of their services for free within 12 months. You can follow this link to check out more https://aws.amazon.com/free/
Create New Account in AWS
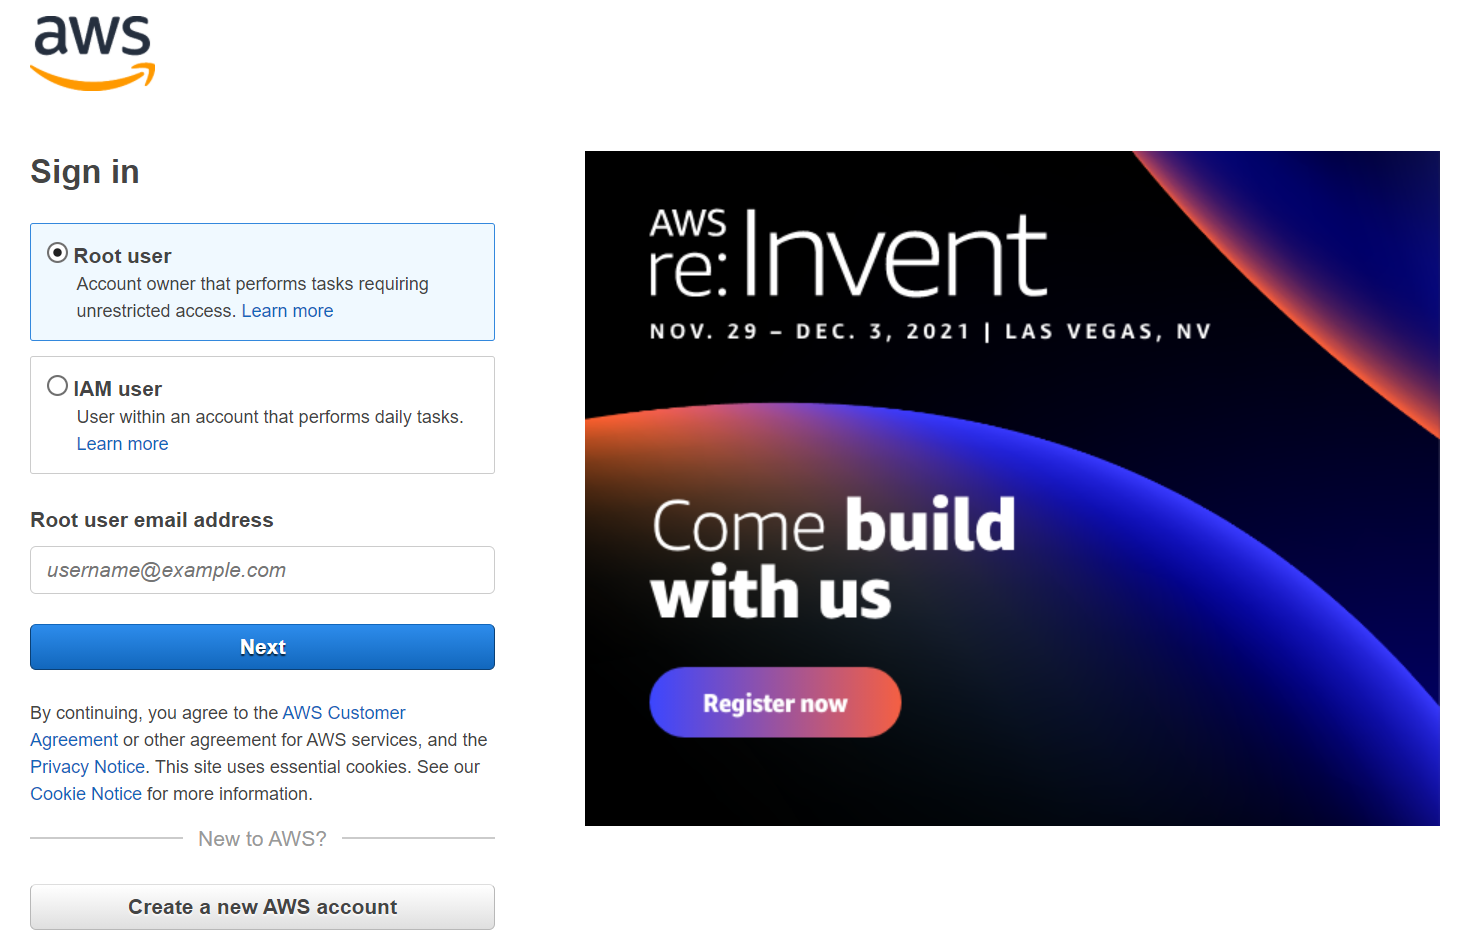
- Visit website Amazon Web Service, Click sign in to console and then click the button Create a new AWS account
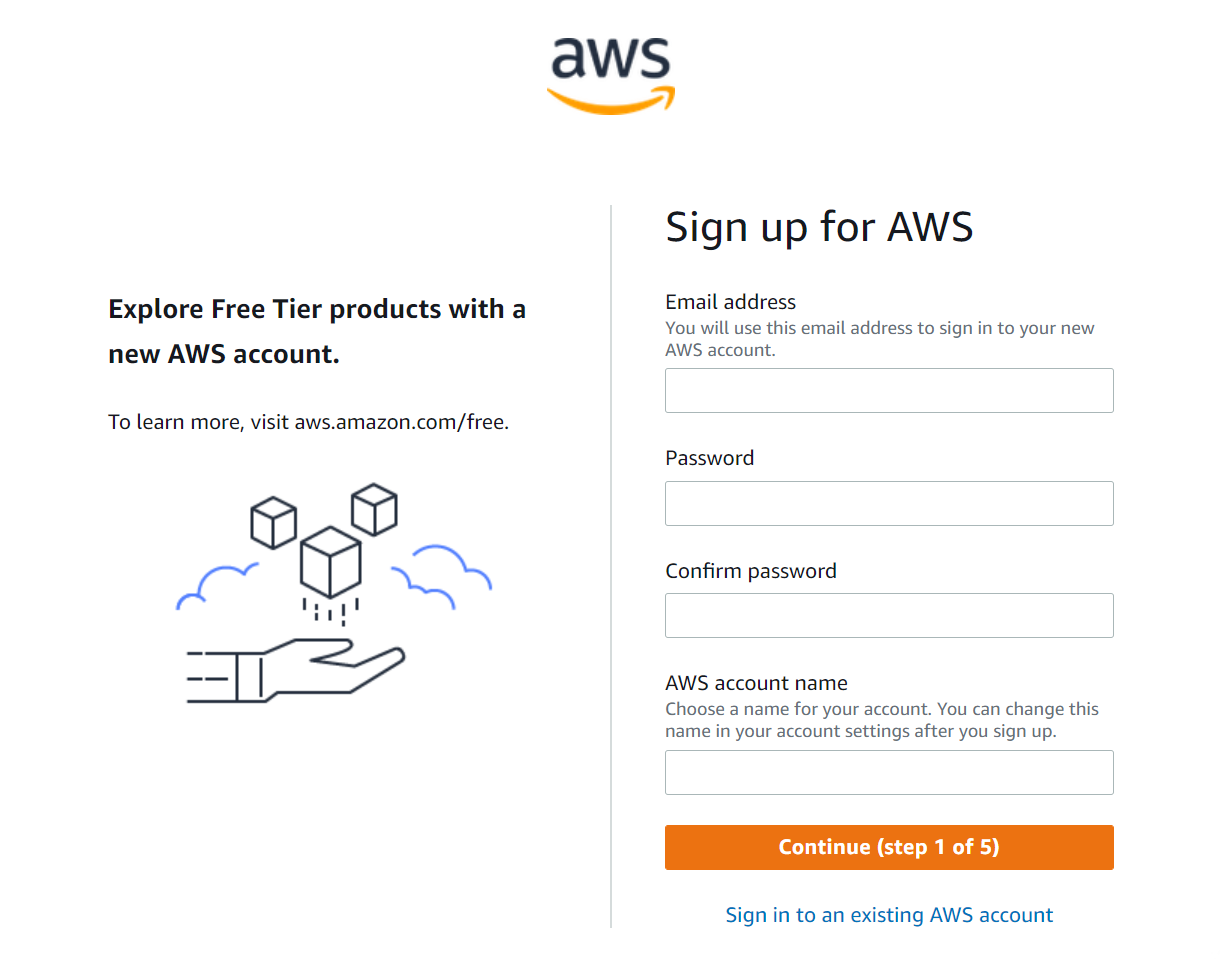
- Step 1: Sign Up for AWS by giving an email address, password, and confirm password
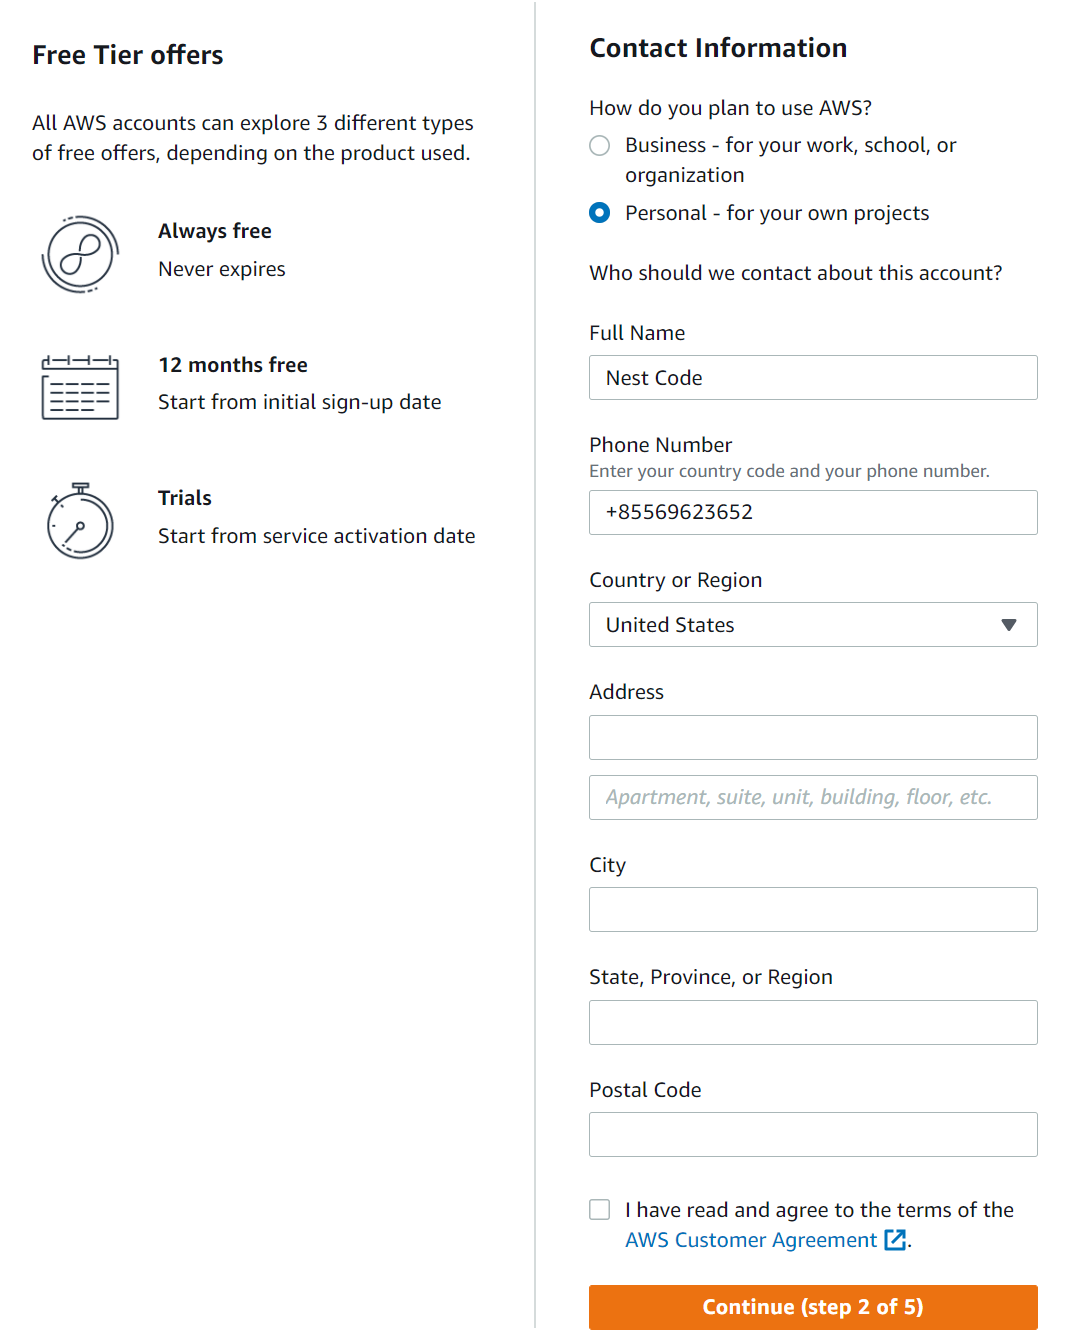
- Step 2: Contact Information
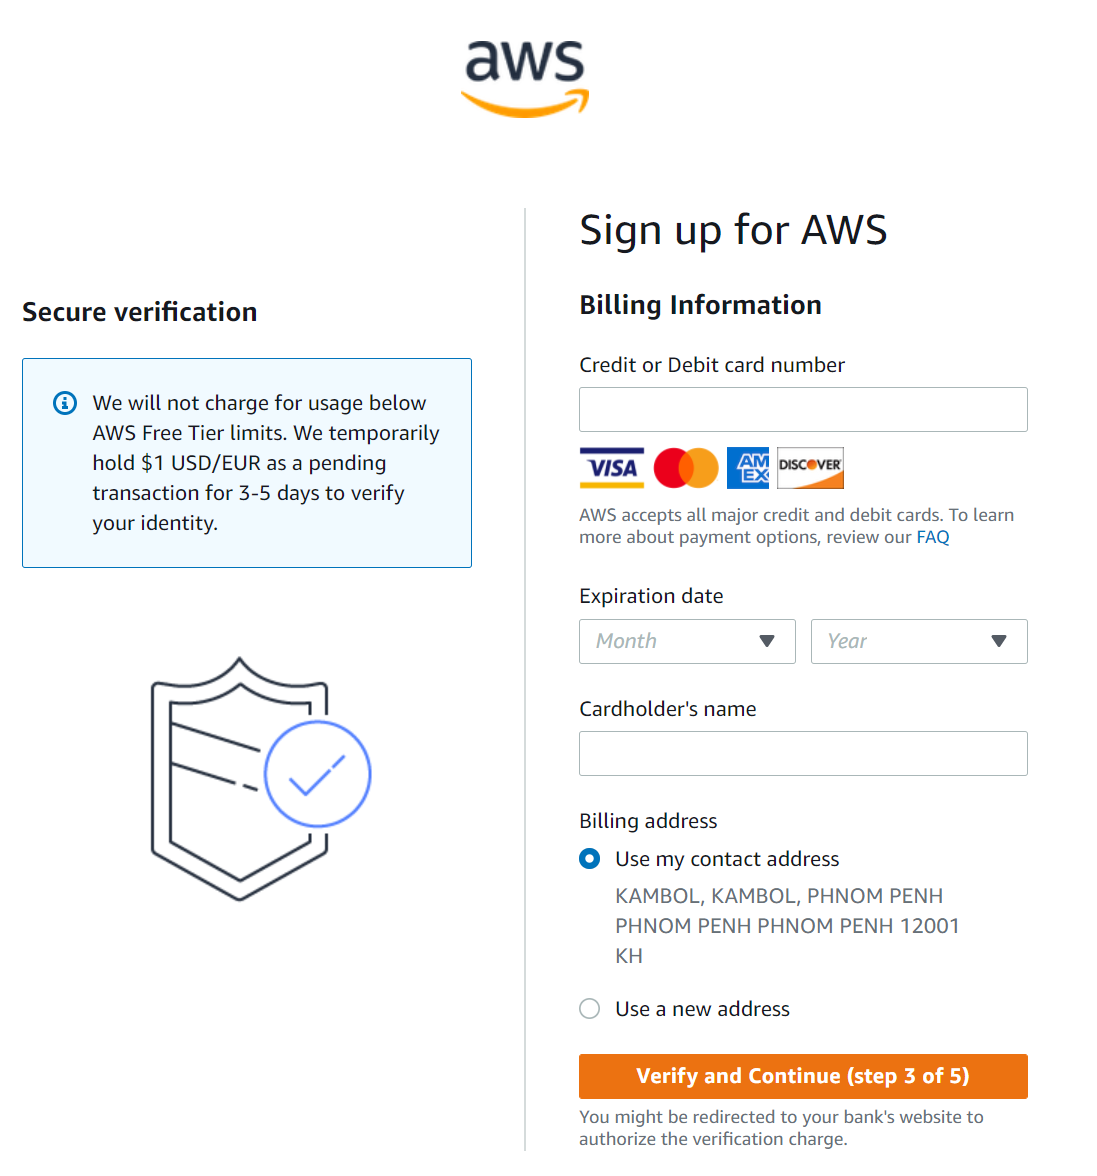
- Step 3: Billing Information, your will be charged for 1$ to verify your identity
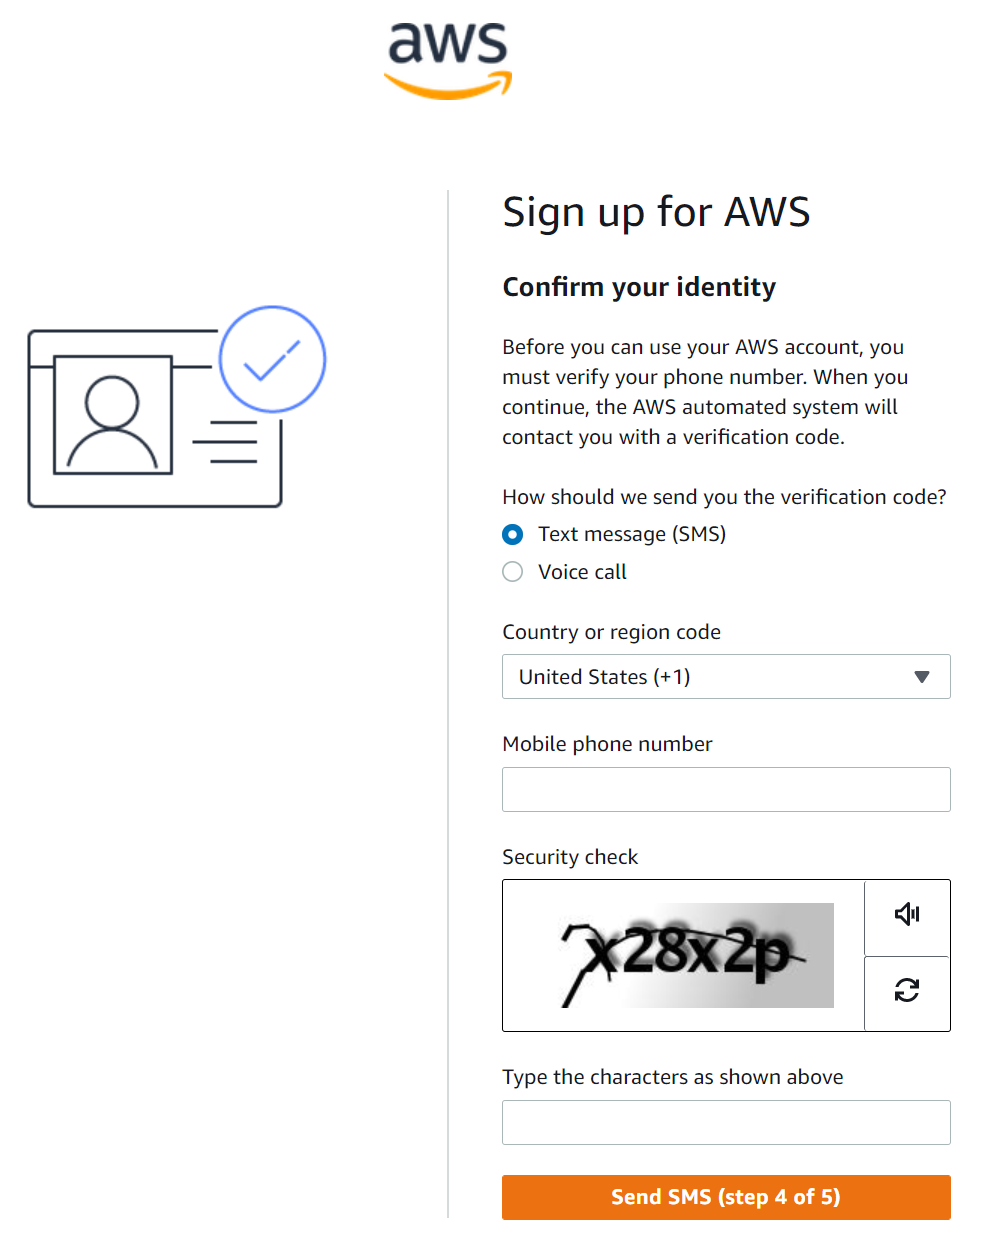
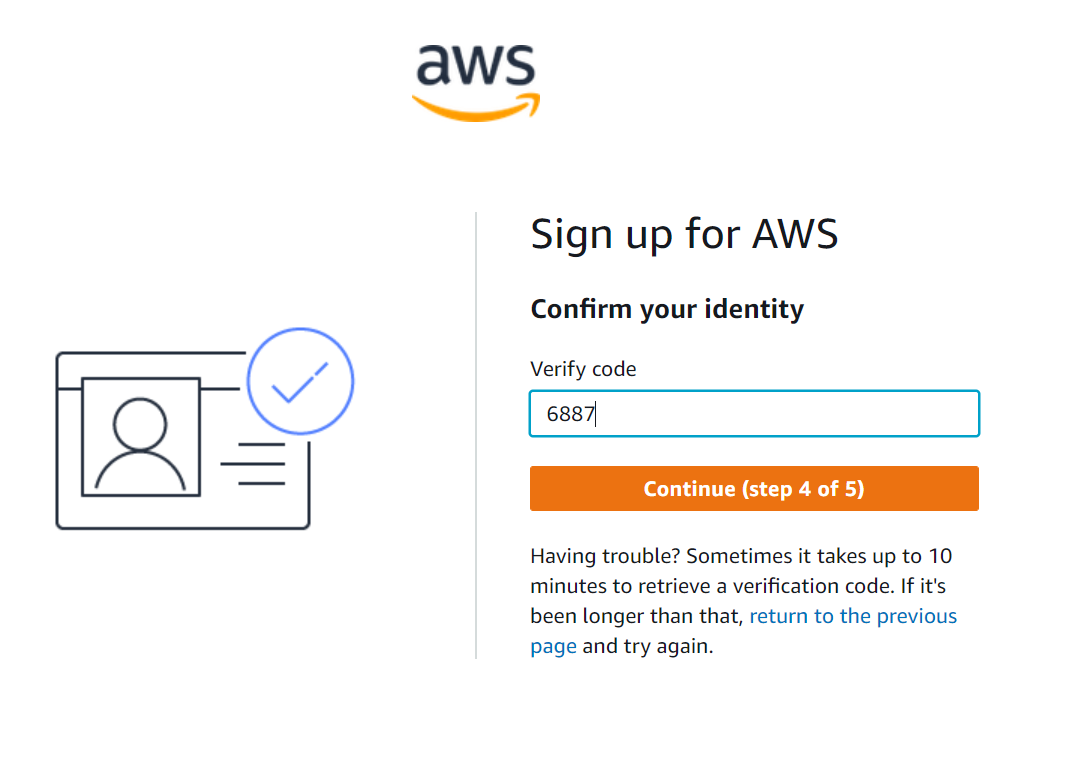
- Step 4: Confirm your identity, AWS will send SMS code to your mobile phone
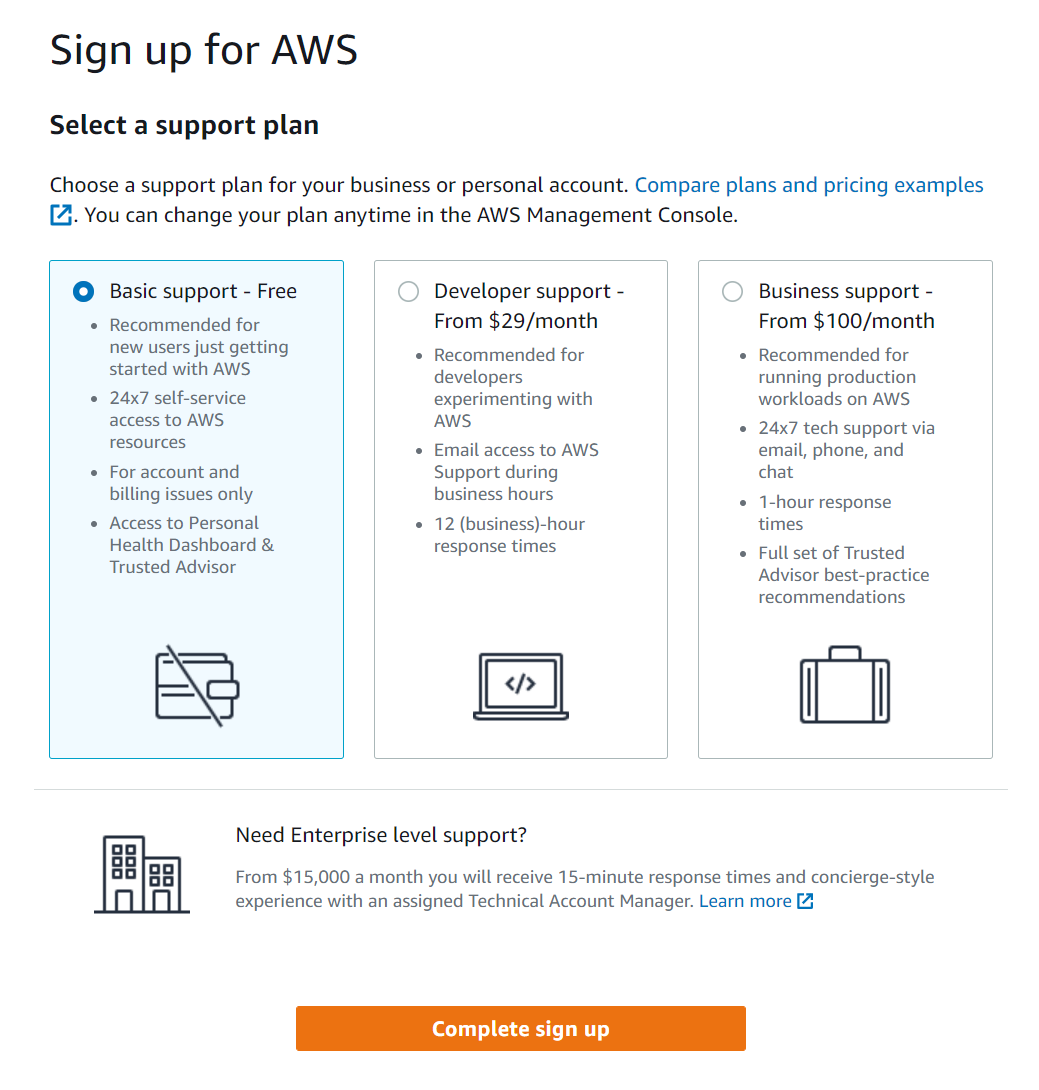
- Step 5: Select a support plan
- Step 6: Congratulations, You are now ready to use AWS service
Create Your New Elastic Compute Cloud (EC2)
- Login to AWS Management Console https://console.aws.amazon.com/console/home?nc2=h_ct&src=header-signin
- Click on menu services, then select EC2
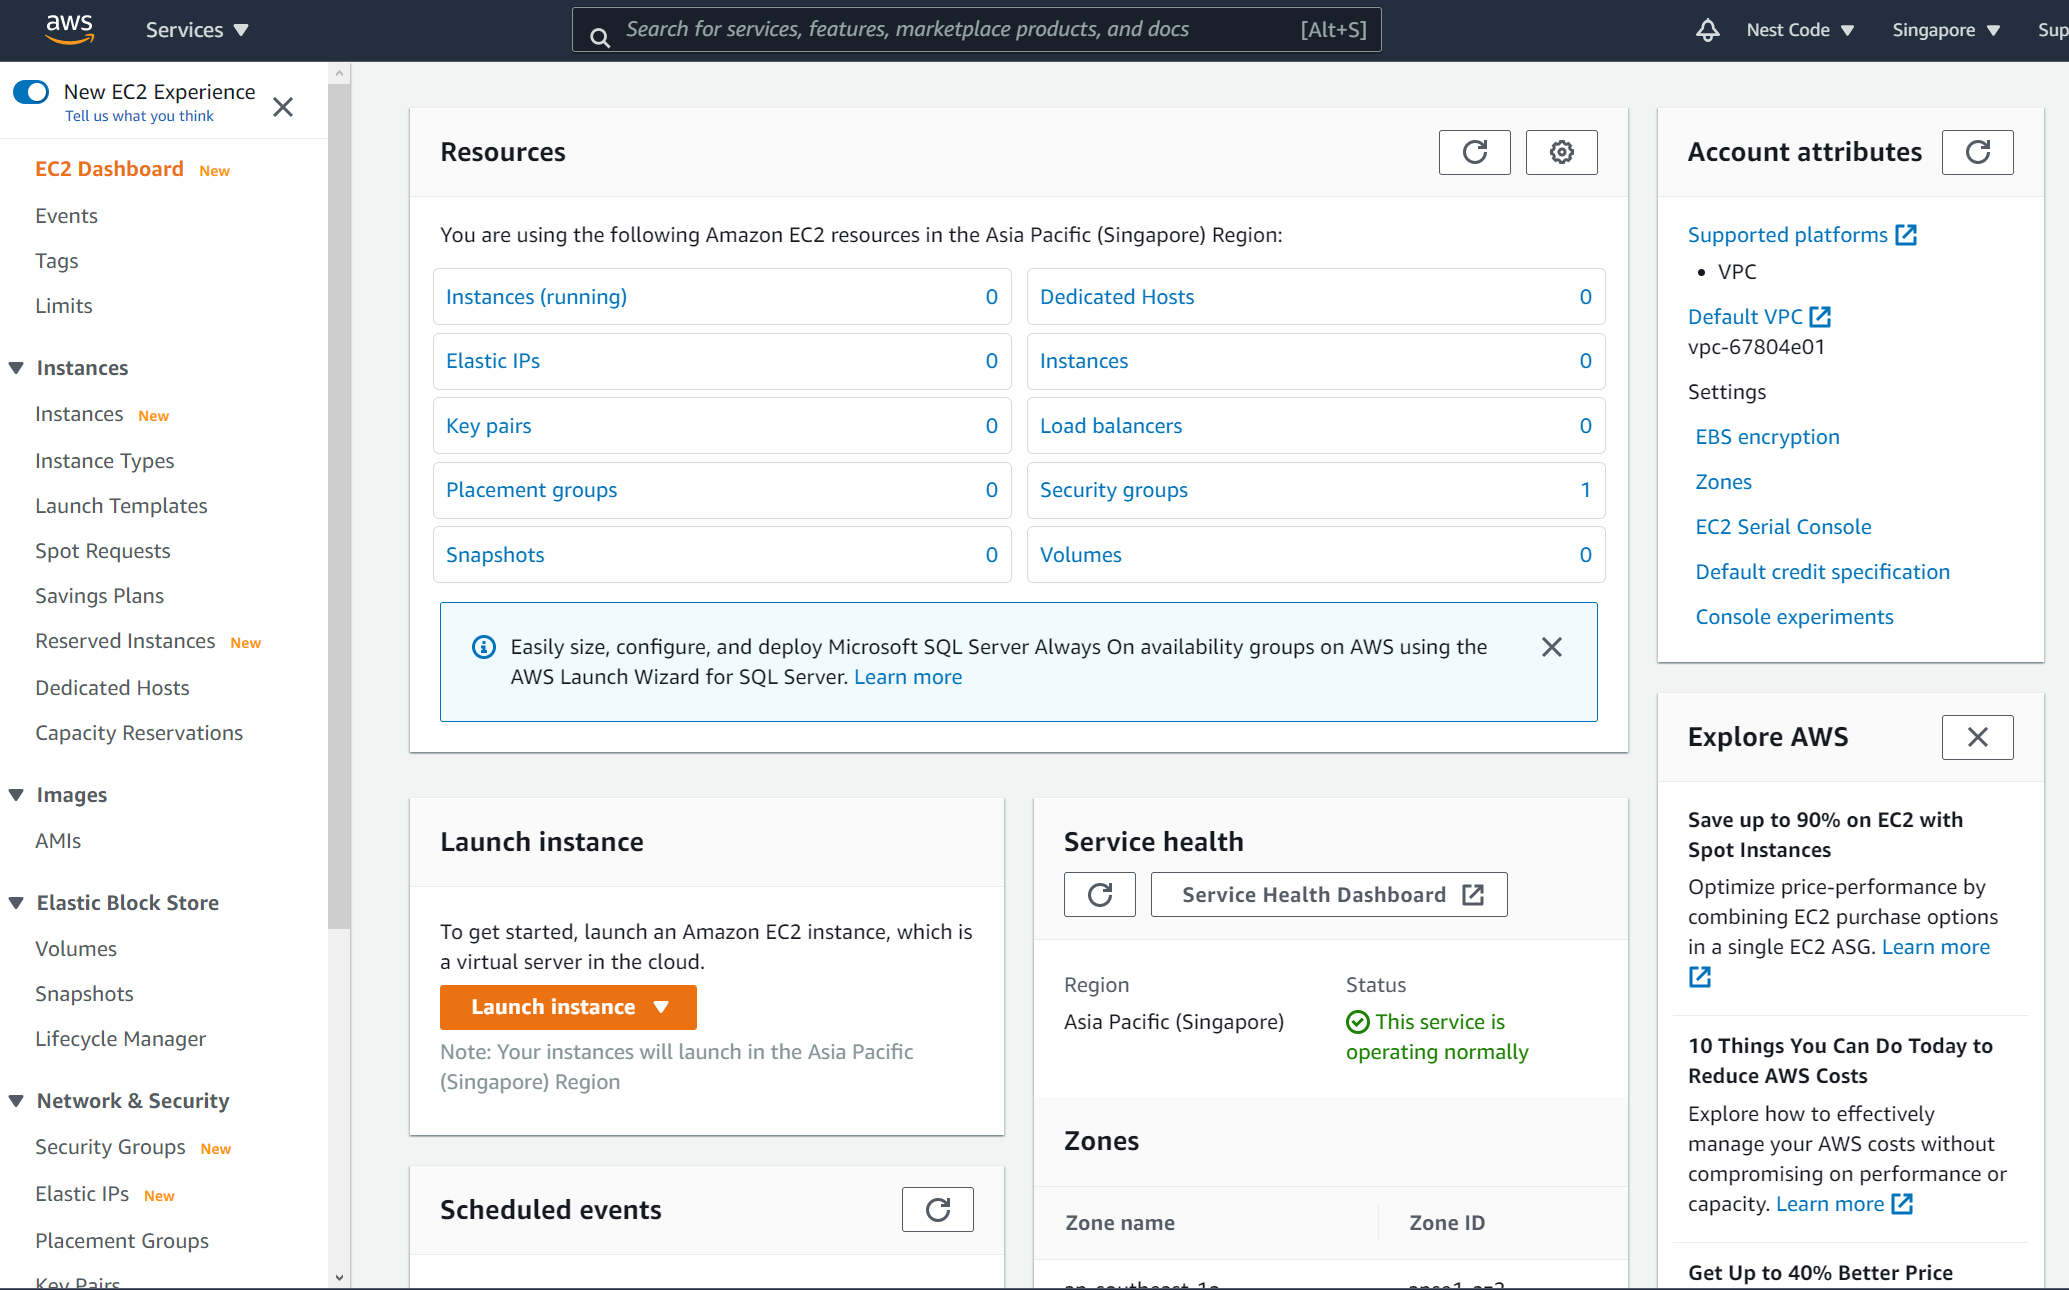
- Click menu instances, then click the button Launch instances
- Step 1: Choose an Amazon Machine Image (AMI) - this is where you select the operating system of your EC2 (Recommend to choose Free tier eligible)

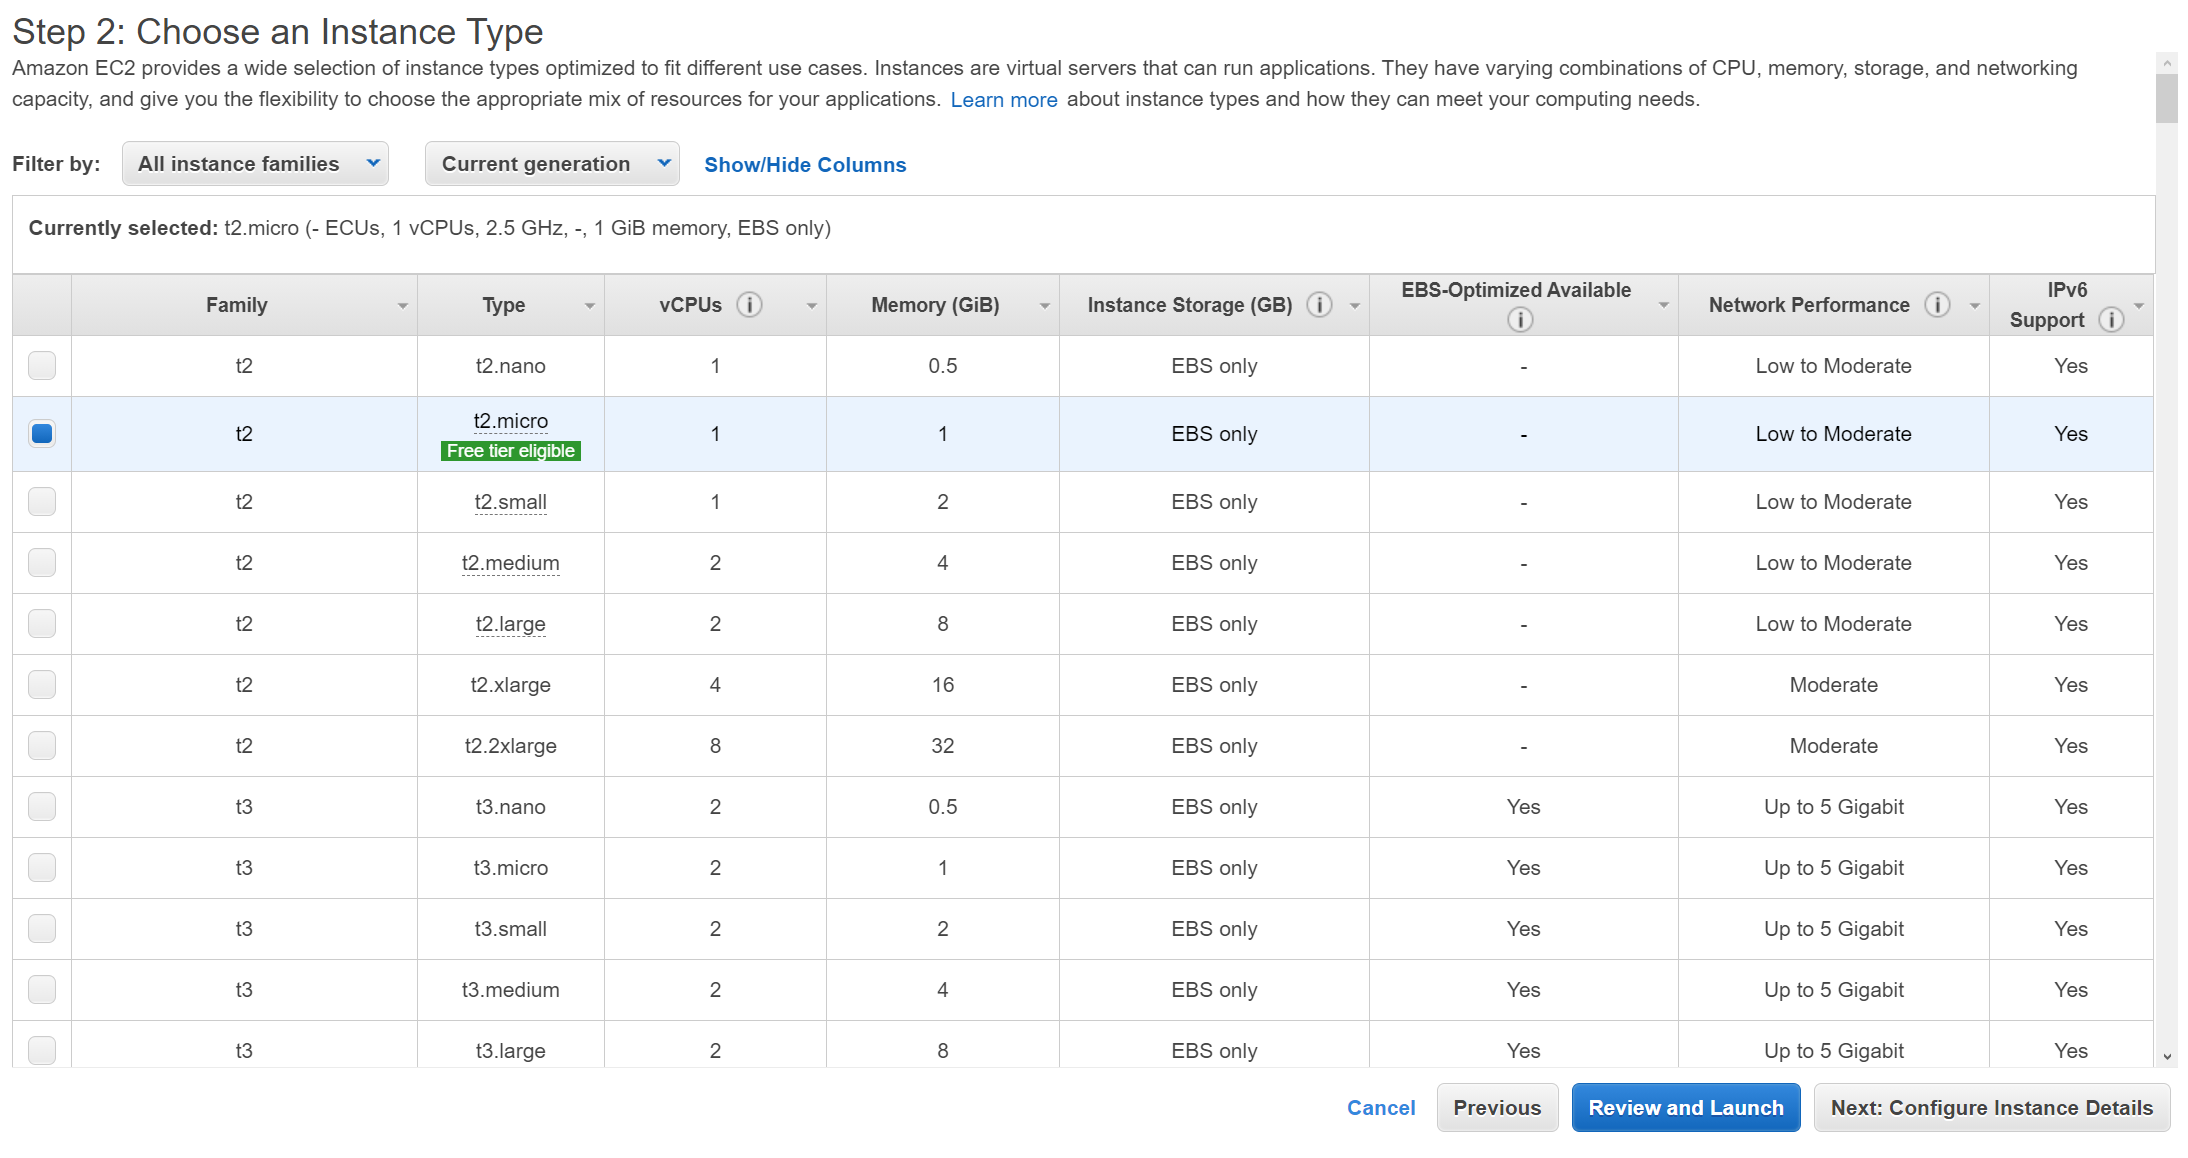
- Step 2: Choose instance type - choose t2.micro which is in the scope of the free tire account and click next
- Step 3: Configure instance details - No need to change anything and click next
- Step 4: Add storage - By default you got 8GB for the storage

- Step 5: Add Tags - No need to change anything and click next
- Step 6: Configure Security Group - Allow port 22 of SSH in order to access the server after installation

- Step 7: Review Instance Launch, then click Launch you will see a popup asking for creating a new key pair. Select create a new key pair by giving the name and download. This new key pair is used to connect your EC2 via SSH.
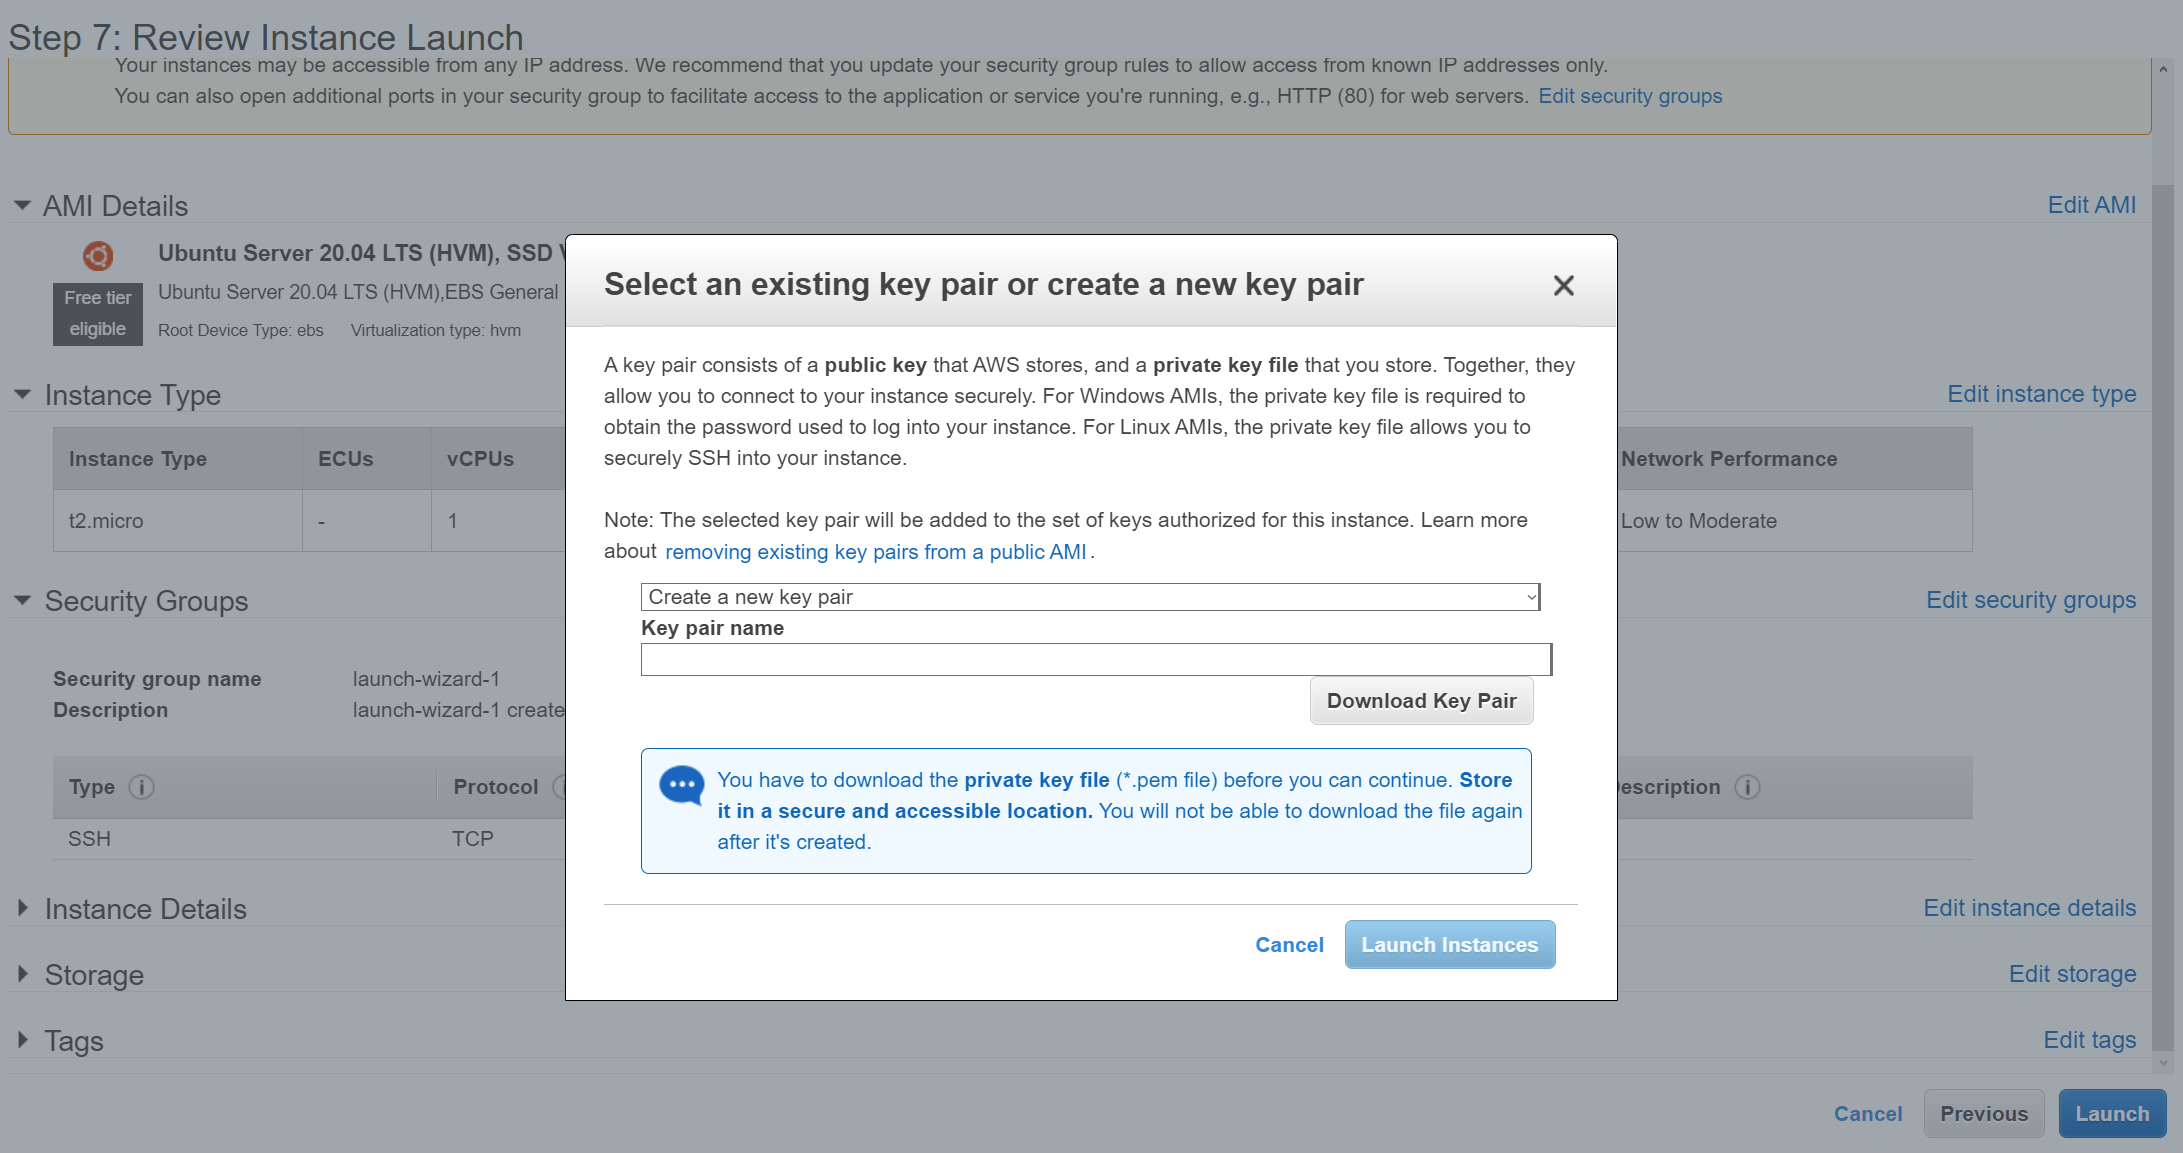
- Finally, click the button Launch Instances and wait a few minutes you will get the EC2 instance up and running
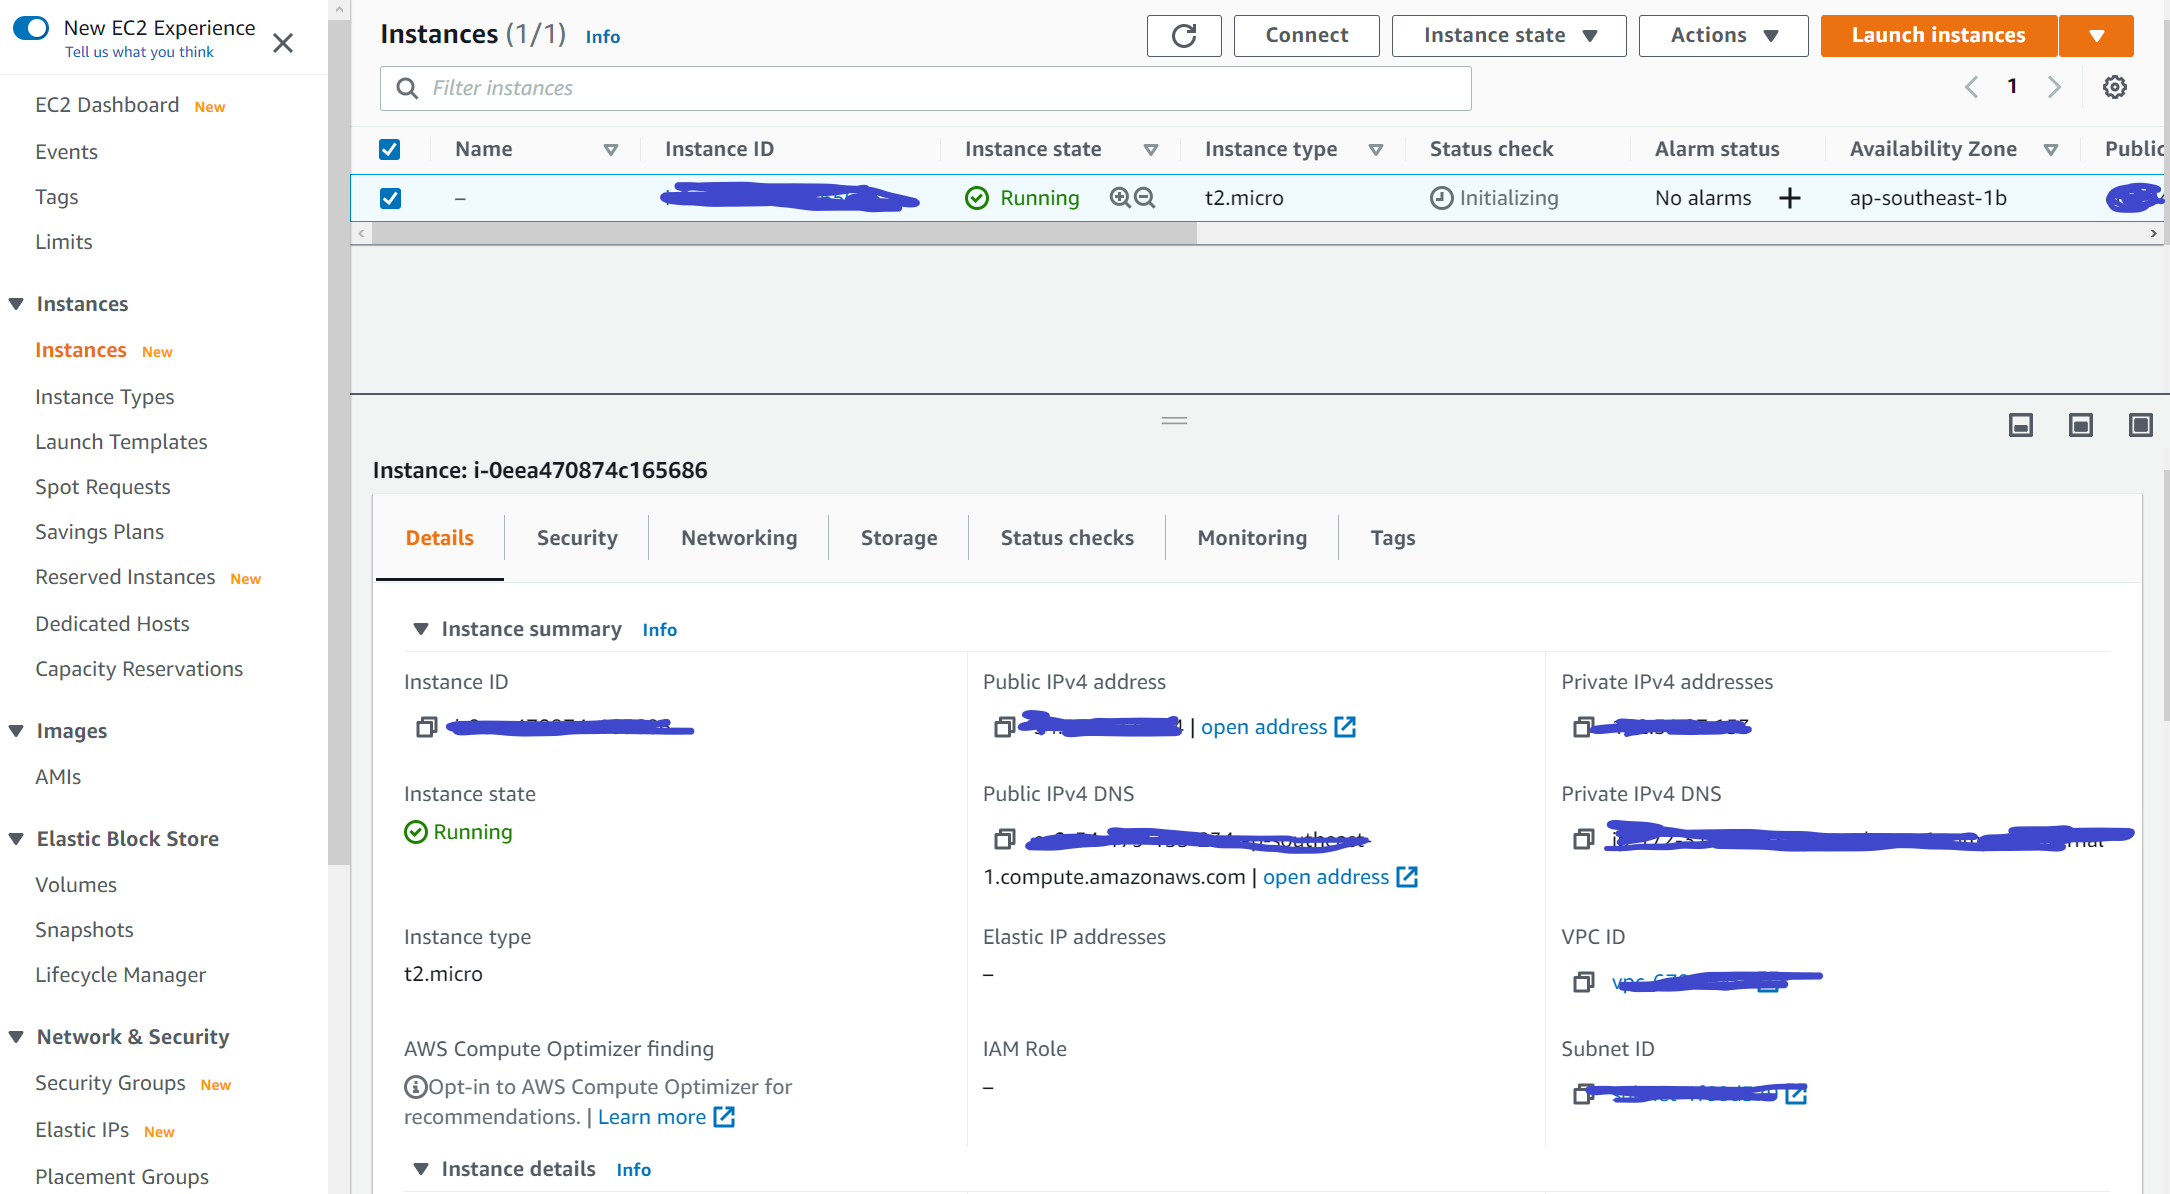
Access Your Newly Created EC2 via SSH using Putty
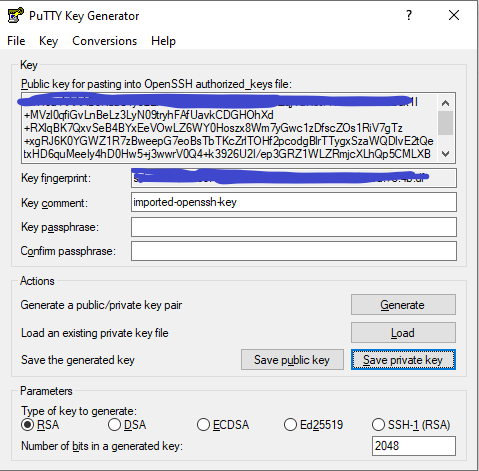
- Convert key-pair file (.pem) to (.ppk) using Putty Key Generator
- Click load to load key-pair file (.pem)
- Click Save private key, and keep it safe
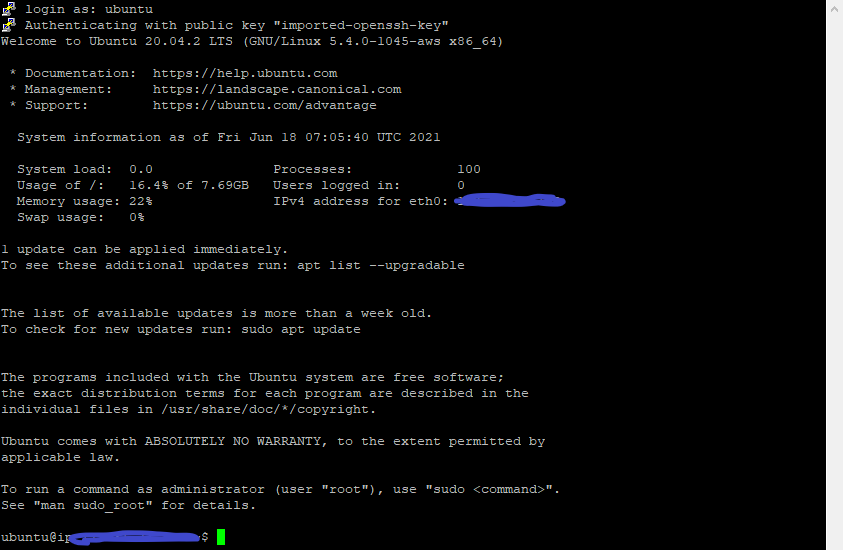
- SSH to EC2 by public IP address, port 22, and the private key using Putty
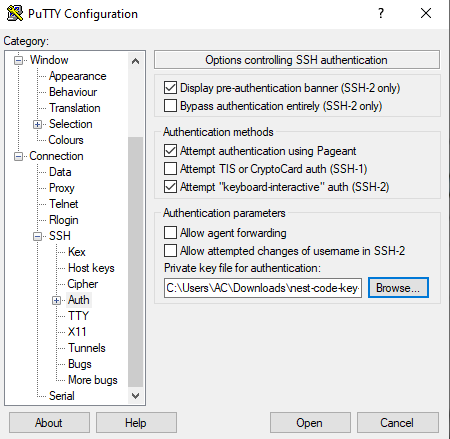
- You will be asked for the user, since we select Ubuntu as the operating system the user will be ubuntu
HOPE THIS WILL HELP YOU TO BEGIN YOUR JOURNEY WITH AWS :)

