How to install apache2 on your cloud server ubuntu 20.04
Experiment on Droplet Digital Ocean Ubuntu 20.04

Apache is the most well-known software used as webserver. Apache is open-source software available for free. it is fast, secure, and super reliable. Most web applications or software written by PHP mostly use Apache2 as its webserver to provide service to the clients. There are some other popular web servers on the market such as Nginx, Lighttpd, WampServer, Internet Information Services, etc. The webserver is a technique for servers to provide services or serve the content of webpage, videos, or images to the client. The client here is referred to anyone who has a computer or mobile phone and wanted to view the webpage, watch videos, or view images from the servers who hosted the contents.
By using apache as your webserver to host your website or web application, you enable your team for the ability of customization since apache is open-source and free for everyone to contribute. If you prefer the commercial one, it's also available for you. Apache is created in 1995 and making improvements since then which make it a reliable and stable software among the top. In order to get apache up and running, you just have to follow these two simple steps to set up on your server either digital ocean or amazon web services (AWS)
Step 1: Update your server
sudo apt-get update

Hit:1 http://repo.mysql.com/apt/ubuntu focal InRelease
Get:2 http://mirrors.digitalocean.com/ubuntu focal InRelease [265 kB]
Get:3 http://security.ubuntu.com/ubuntu focal-security InRelease [114 kB]
Get:4 http://mirrors.digitalocean.com/ubuntu focal-updates InRelease [114 kB]
Get:5 http://mirrors.digitalocean.com/ubuntu focal-backports InRelease [101 kB]
Get:6 http://mirrors.digitalocean.com/ubuntu focal-updates/main amd64 Packages [1026 kB]
Get:7 http://mirrors.digitalocean.com/ubuntu focal-updates/universe amd64 Packages [779 kB]
Fetched 2398 kB in 2s (987 kB/s)
Reading package lists... Done
Step 2: Installing Apache2
Using the below command to install apache software version 2 (Apache2)
sudo apt-get install apache2
Step 3: Start, Stop, and Restart Apache2
Checking status of apache2 service using below command
sudo service apache2 status

● apache2.service - The Apache HTTP Server
     Loaded: loaded (/lib/systemd/system/apache2.service; enabled; vendor preset: enabled)
     Active: active (running) since Sun 2021-06-06 13:59:33 UTC; 1min 5s ago
       Docs: https://httpd.apache.org/docs/2.4/
   Main PID: 27474 (apache2)
      Tasks: 55 (limit: 1136)
     Memory: 5.5M
     CGroup: /system.slice/apache2.service
             ├─27474 /usr/sbin/apache2 -k start
             ├─27476 /usr/sbin/apache2 -k start
             └─27477 /usr/sbin/apache2 -k start

Jun 06 13:59:33 ubuntu-s-1vcpu-1gb-sgp1-01 systemd[1]: Starting The Apache HTTP Server...
Jun 06 13:59:33 ubuntu-s-1vcpu-1gb-sgp1-01 apachectl[27473]: AH00558: apache2: Could not reliably determine the server's fully qualified domain name, using 127>
Jun 06 13:59:33 ubuntu-s-1vcpu-1gb-sgp1-01 systemd[1]: Started The Apache HTTP Server.
lines 1-15/15 (END)
sudo service apache2 start
sudo service apache2 stop
sudo service apache2 restart
Step 4: Open your browser and type IP address of your server
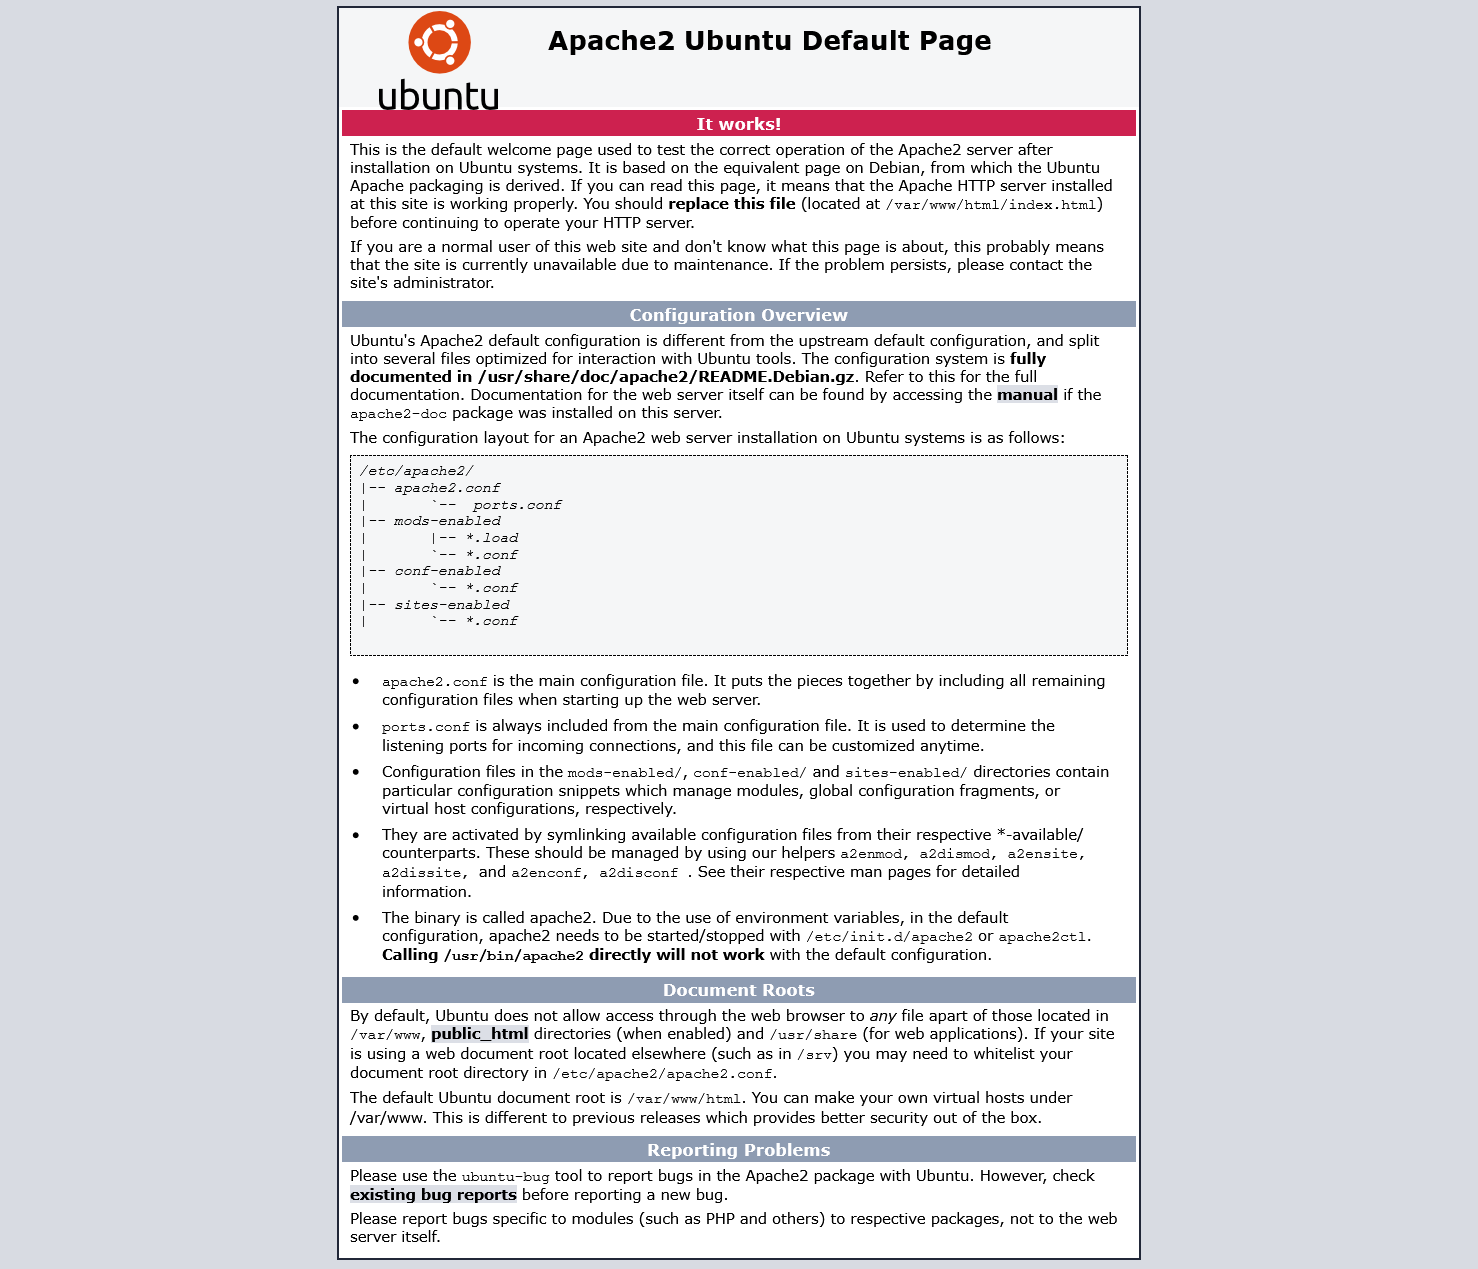
First, you have to know your IP address of your personal computer or server and then type in web browser and hopefully you will see the screenshot as below

These are super simple steps to set up an Apache server to serve your website or web service.


