Steps to Own Your First Digital Ocean Cloud Server or Droplet
Dreaming of owning a server for your development or deployment is not a difficult task anymore due to the popularity of cloud services such as Amazon Web Services (AWS), Microsoft Azure, Digital Ocean, etc. By owning a cloud server means that you don't own a physical server and you don't have to go to a computer shop to buy your server there. You just visit the website of a cloud services provider, then sign up for an account and you are ready to go. There are several advantages to not owning physical servers. First, we don't have to spend on utility supplies such as electricity, spare parts replacement, or maintenance services. Second, preventing disaster accidents such as floods, fires, or any possible disaster. Still, some organizations choose this way (Owning Physical Server) to manage their servers in-house due to their individual reason.
Cost-saving is a big factor in implementing a cloud-based server. Imagine you want to run a software-as-a-service start-up with your fabulous ideas for helping businesses bootstrap their sales volumes. Before cloud-based technology exists you have to buy several physical servers to host your solution and start selling the platform to the business owner. This means that you have to pay the cost of physical servers upfront even before you get money from selling your platform. But nowadays with the help of cloud-based technology, you can start small and keep growing with your clients without buying upfront physical servers.
There are many cloud service providers in the market for providing virtual servers, but in this post, we would like to show you a few steps to create your first digital ocean cloud server (or called Droplet). It is a very simple process you just follow the 5 steps below you will get access to your personal cloud server on Digital Ocean.
Prerequisite: You have to have an account in digit ocean, if you don't please follow this link to SIGN UP an account

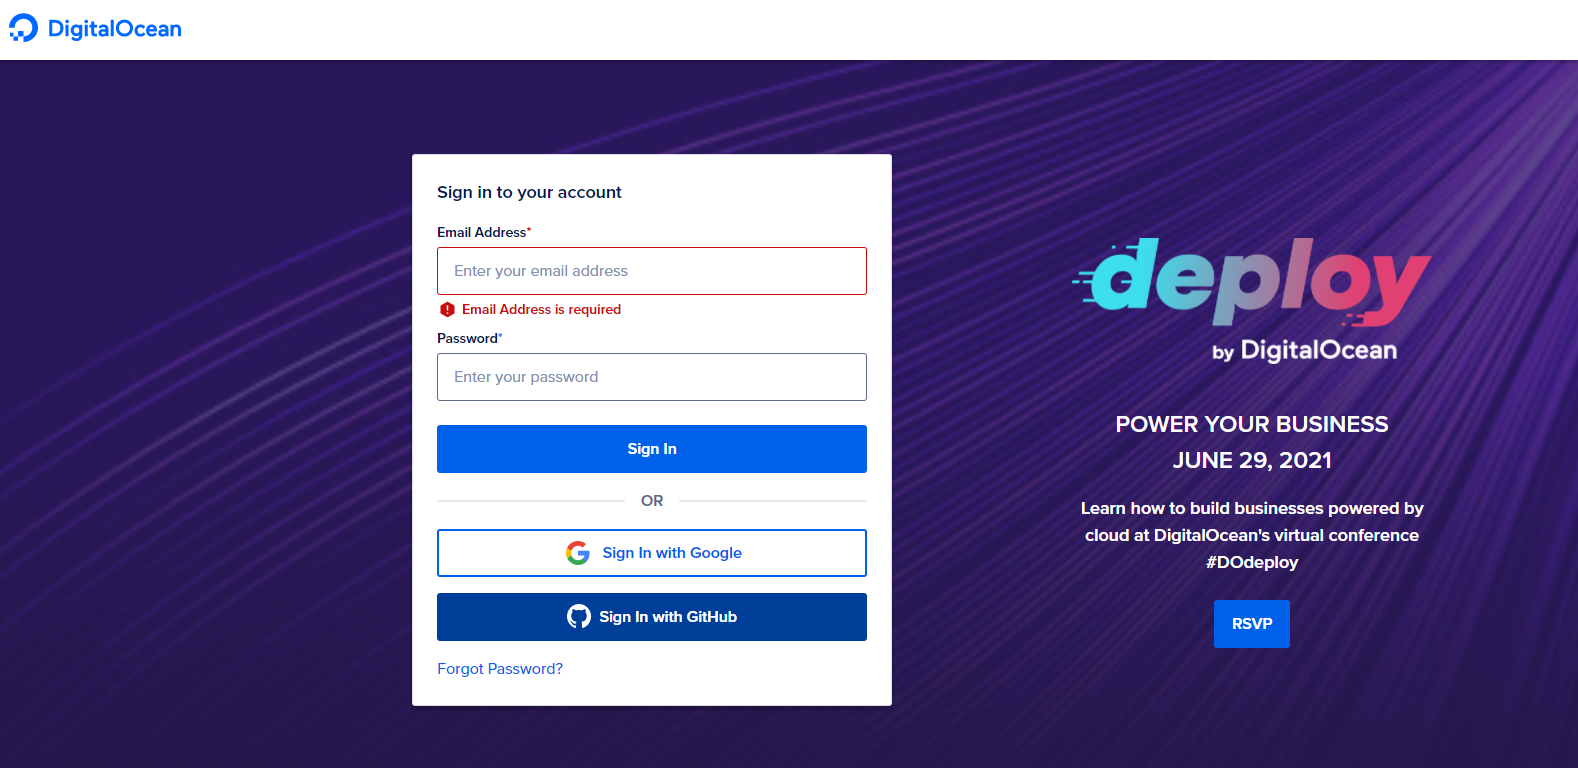
Step 1: Log in to your account
Enter your email address and password, then click login or you can log in by Google or Github account. Verify your account by input the verification code sending to your email.
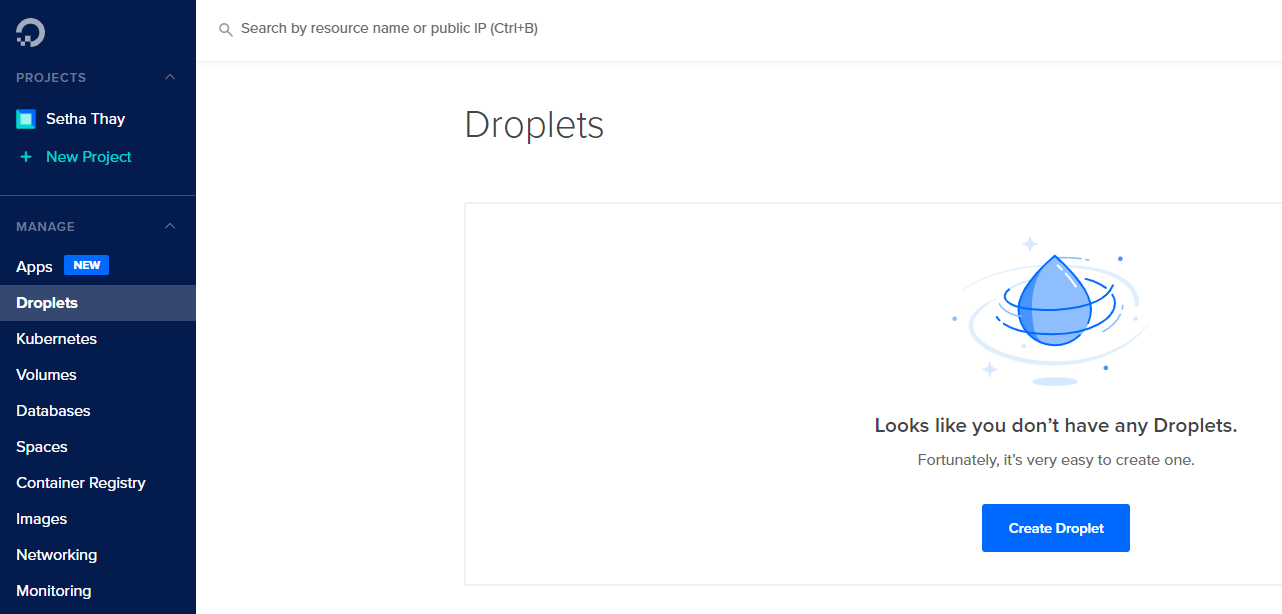
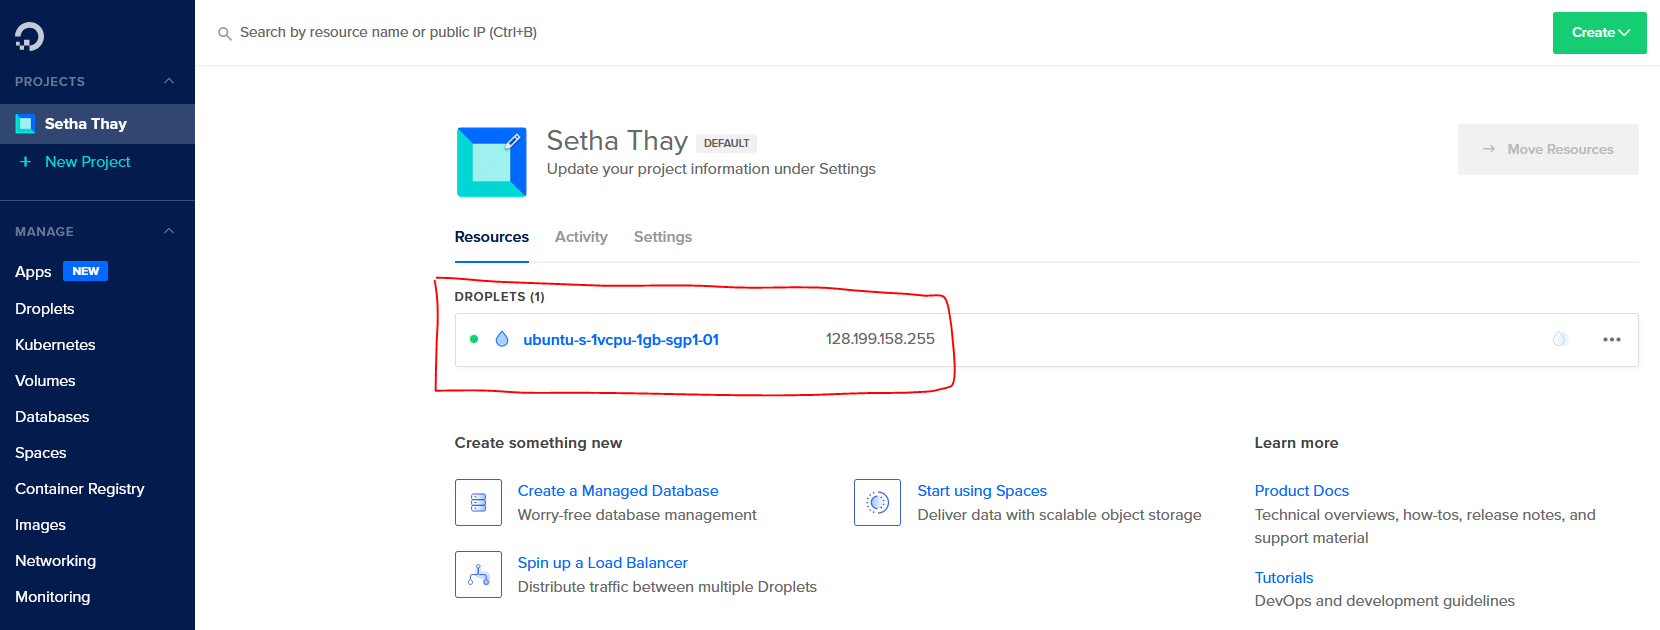
Step 2: Click menu droplets, and then click the button "Create Droplet"
The term Droplet here is referred to a cloud server or virtual server. As in AWS, they term their cloud server as Elastic Compute Cloud (EC2). They are all the same cloud server just different by name.
Click on the button "Create Droplet"
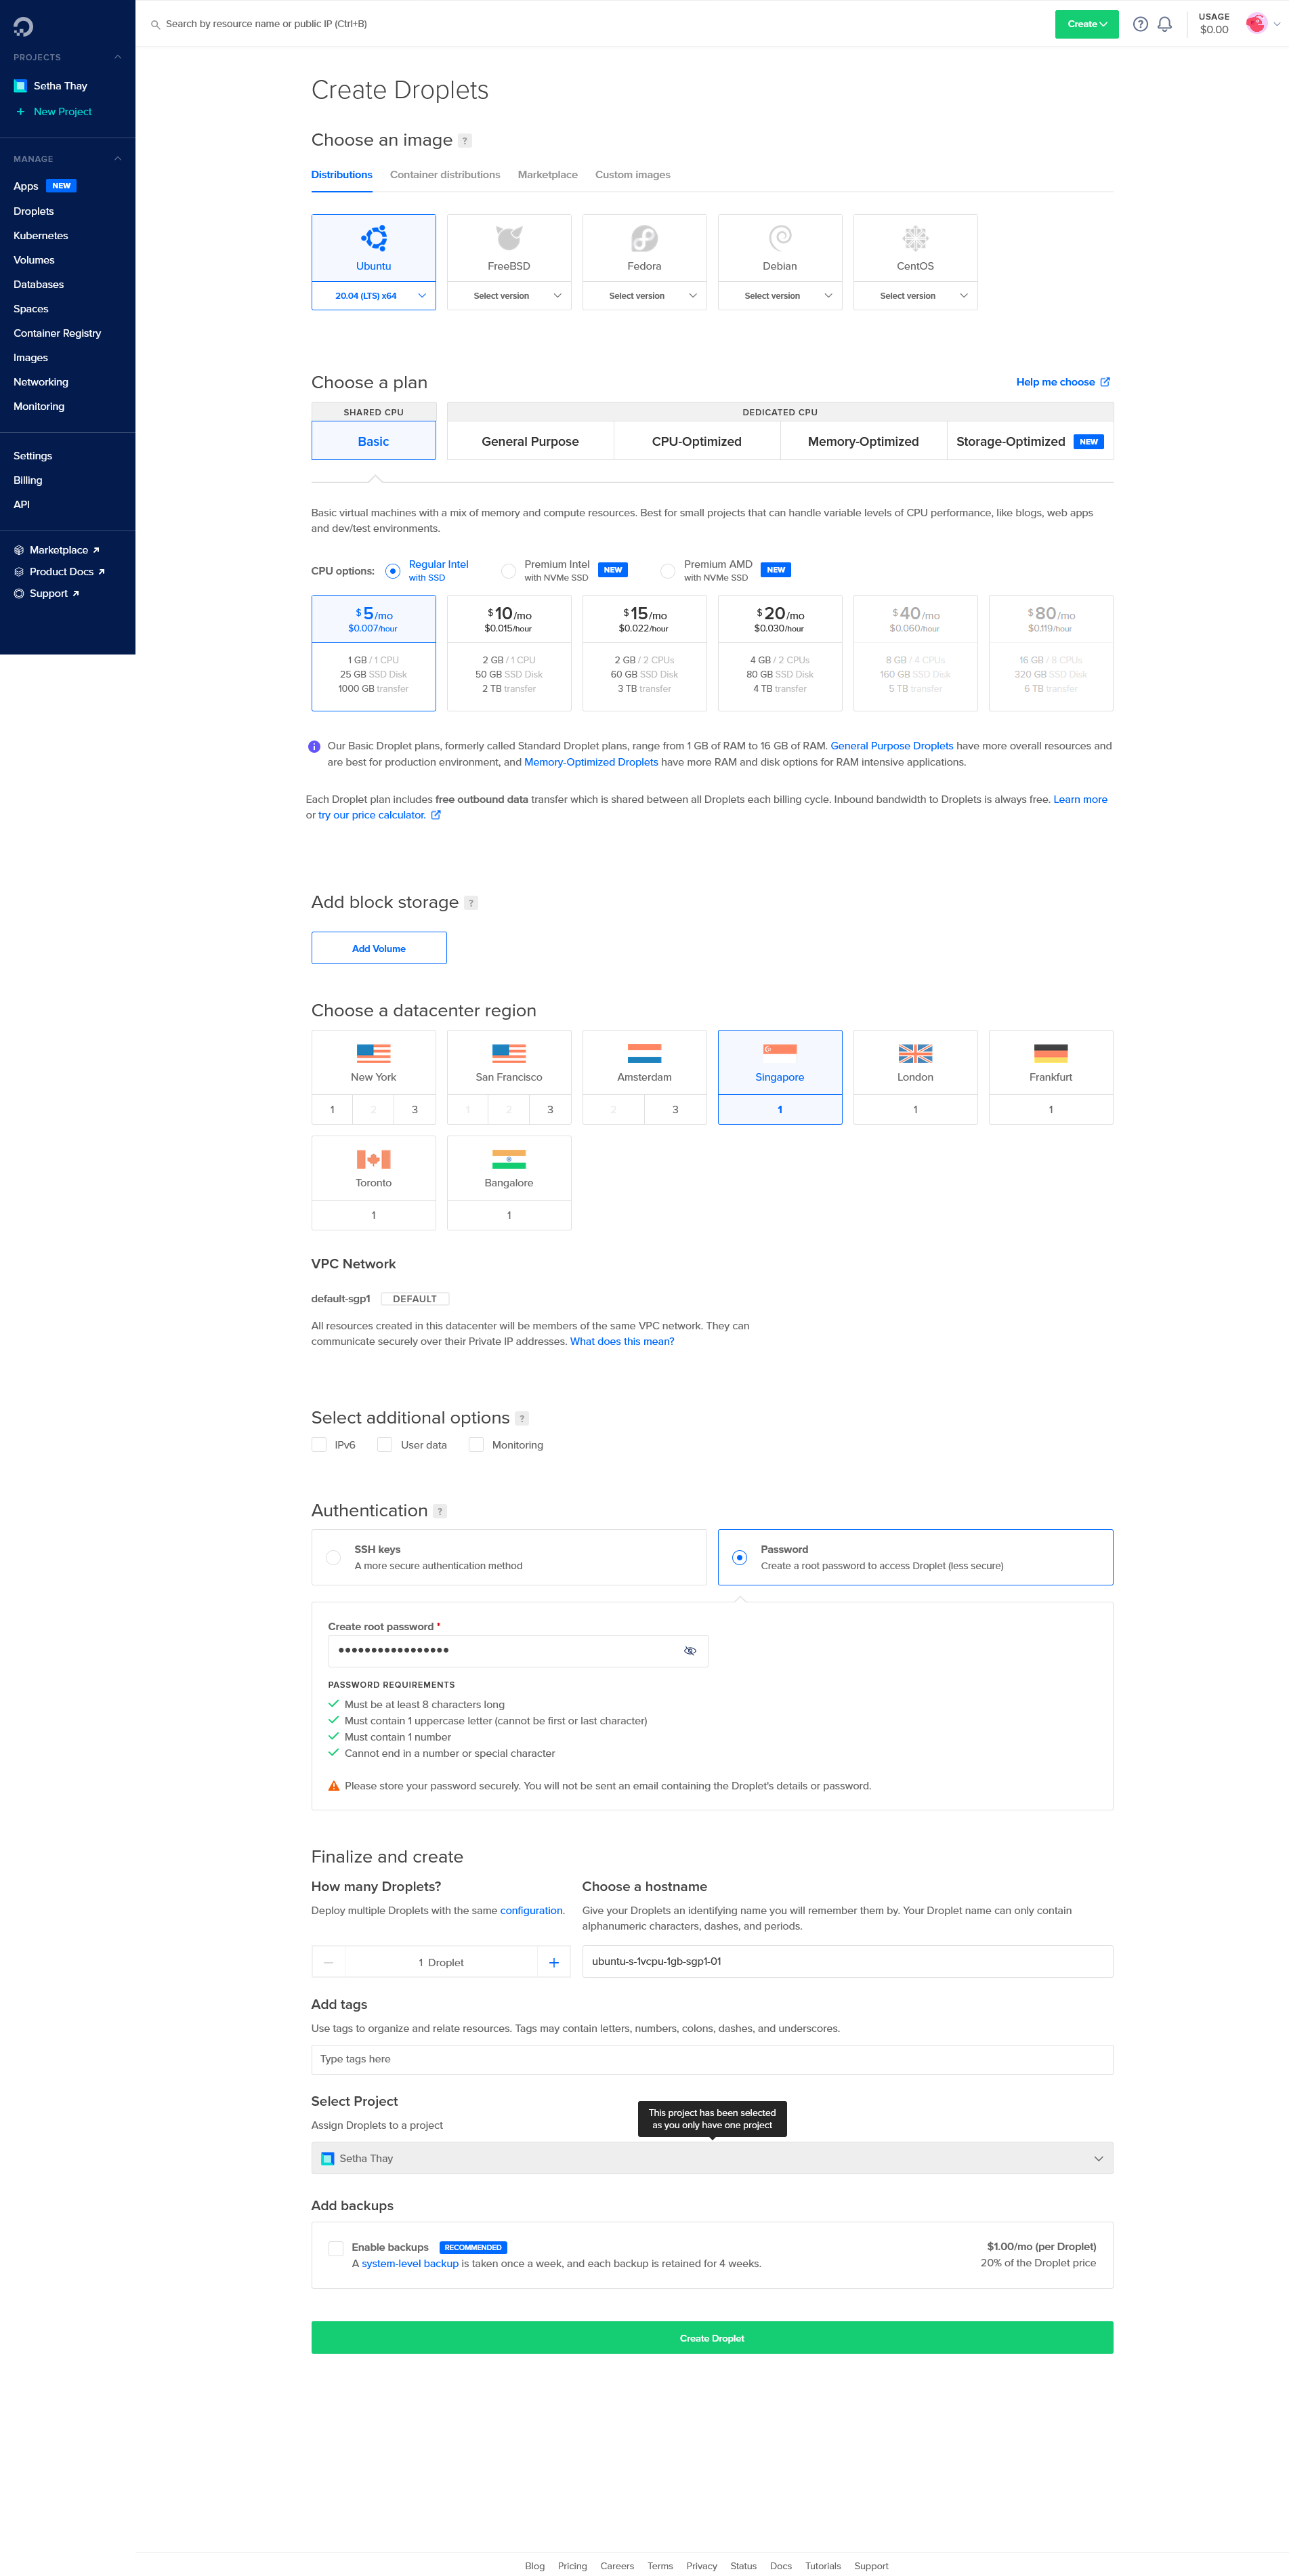
Step 3: Choose Your Droplet's Specification
You have the chance to choose specifications of cloud servers such as OS, RAM, CPU, I/O performance, etc. Your choice will reflect the price per month usages and since this is an example we will select the basic specification. If you need the cloud server for the production environment, your choice might be different.
Below is our chosen droplet's specification for the cheapest one:
- Choose an image (which is the operating system running in your droplet): Ubuntu
- Choose a plan (which is related to the performance of your droplet): STARTER STANDARD
- CPU options (which is the performance of your droplet CPU): Regular Intel with SSD
- Choose datacenter region (which is where your droplet will be located): Singapore
- Authentication (which is the way of how to can manage your droplet): Password and then input your password following the defined password rule
- Click button Create Droplet
Step 4: Waiting for your droplet to be create
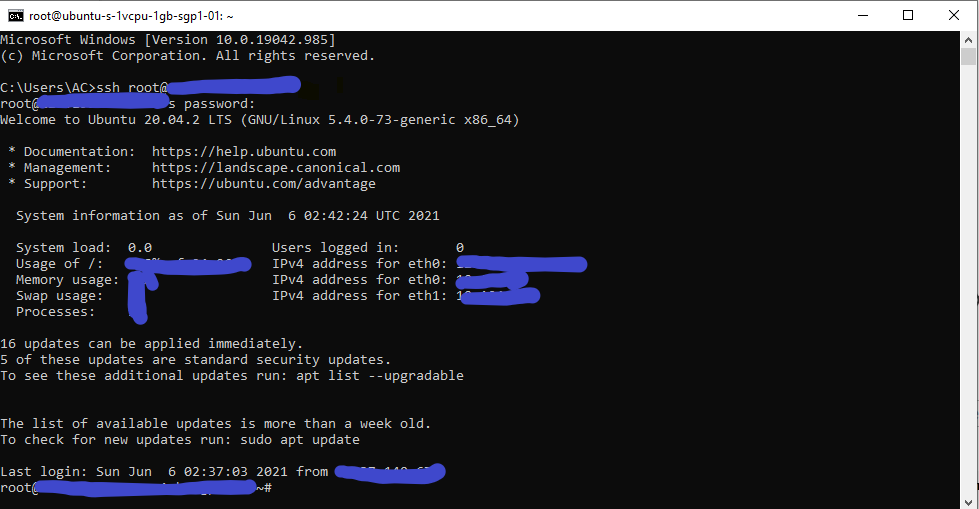
Step 5: Connecting to your first droplet (cloud server)
There are many tools you can choose to connect to your droplets such as command prompt, putty, or MobaXterm via SSH. Whatever tool you choose, you have to use the below command to connect.
ssh root@your_droplet_ipaddress
Then, input your password which you created from the previous step. If you've successfully connected you will see similar screen as below
About author

SETHA THAY
Software Engineer & Project Manager. I am willing to share IT knowledge, technical experiences and investment to financial freedom. Feel free to ask and contact me.
You may also like