Steps to create and connect your first Google cloud compute engine
Your first ever Google Cloud compute engine
In the previous two posts, we have introduced the articles "Steps to Own your Digital Ocean Cloud Server or Droplet" and "Create New Account in AWS and Owning an EC2". These two articles can guide you in owning a cloud server in Digital Ocean and Amazon AWS. What if you want to own a cloud server in Google? This article can be a good start for you. It is mostly the same way to do it, the difference is just the company that provides the cloud server. There are several benefits to owning a cloud server, such as full control and customization over the resources you have, cost savings, and reliability since the vendors are well-known companies.
We will use this compute engine for further experiments with setting up PostgreSQL and PgBouncer using Docker. For now, we will provide 3 steps for setup and connect to the compute engine by using SSH.
Create an Account with Google Cloud
- Open Google Chrome, sign in with your email as a profile, and then visit the Google Console here. You will see the below screen

- Check all the boxes and click the button "Agree and Continue"
- On the top left of the page, click the button "Select a project" and then create a new project by naming the project and clicking the button "Create"

- Then, you select the newly created project and you will see the dashboard below
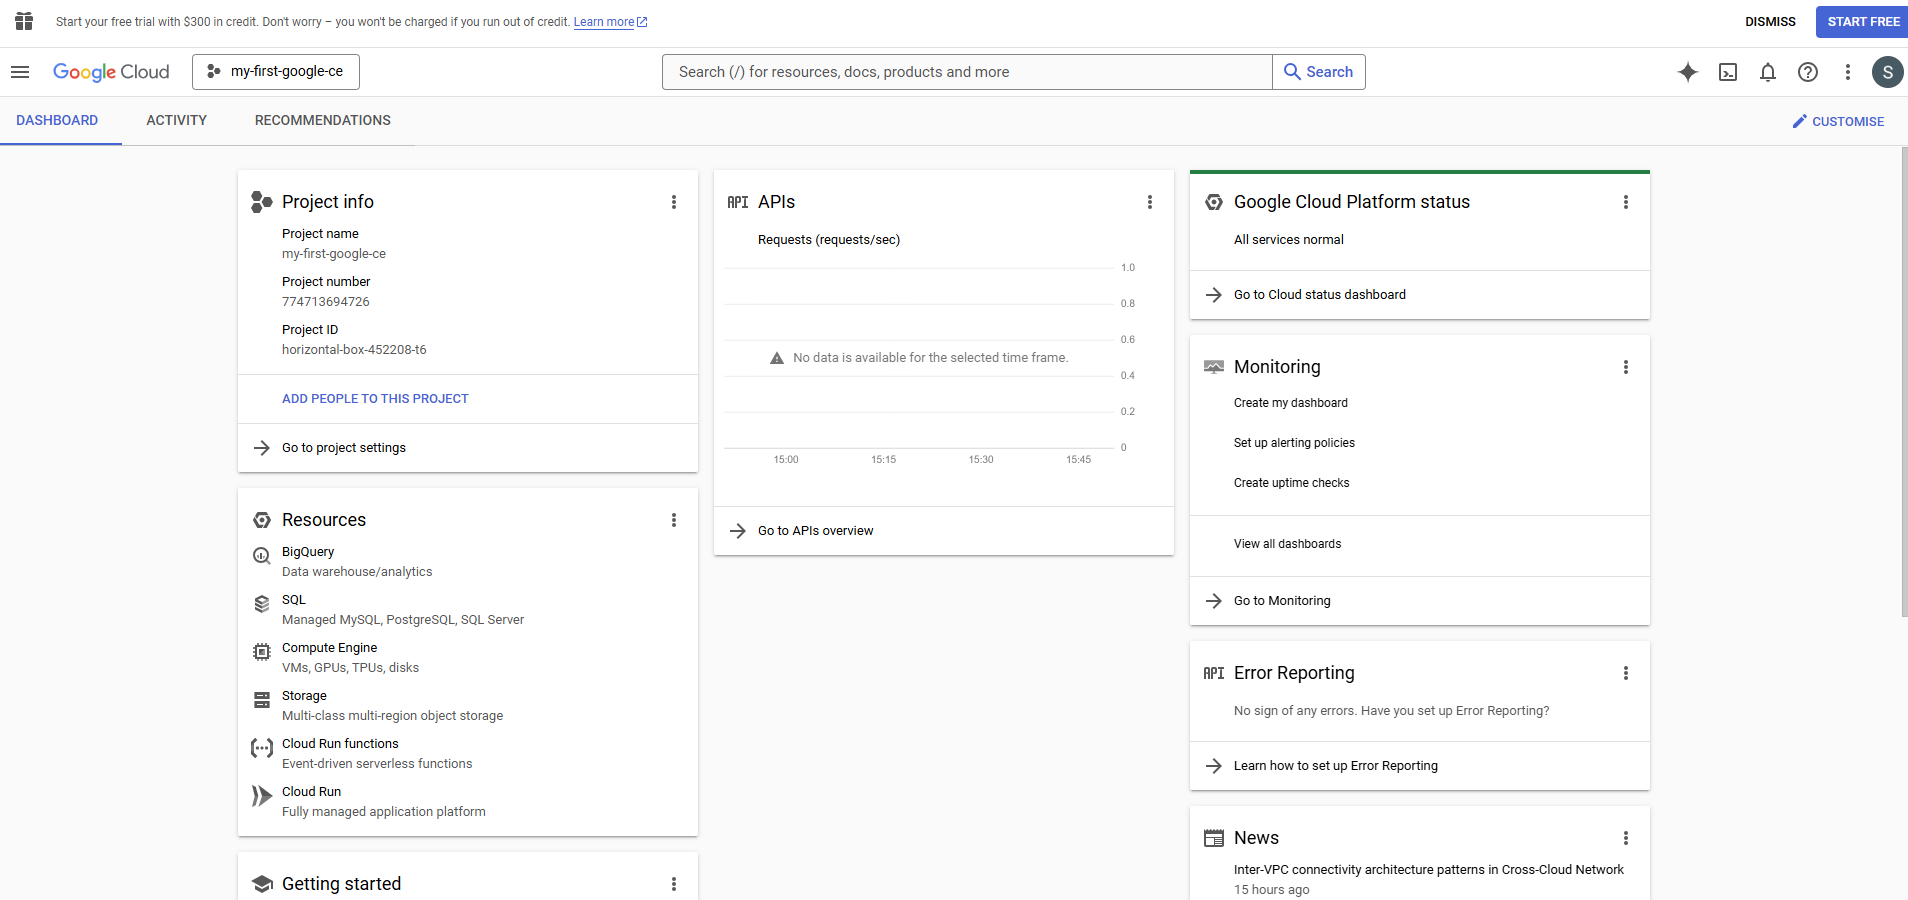
- Now you are ready to move to the next step, "Create a Compute Engine"
Create a Compute Engine
- In the dashboard, you will see the compute engine under the resources box. You will need to enable the Compute Engine API

- When clicking the button enable, it will be asked to fill in the billing information by creating a billing account. You can follow the steps they provide

- Click the action button Agree and continue, complete your payment profile, and add your payment method such as credit or debit card. Don't worry, Google will not charge you instantly, they provide $300 credit usage over 90 days for having a taste of their products.
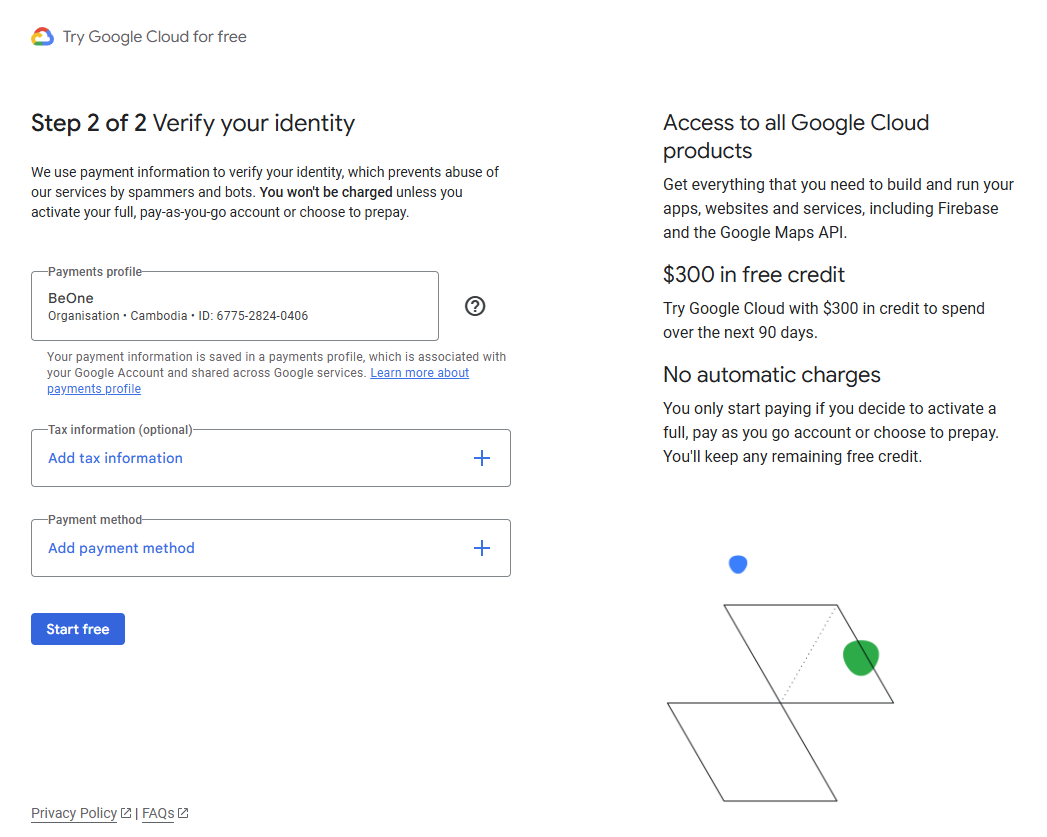
- Finally, click the "Start free" button and you will be asked a few survey questions
Up next, go to the menu, then compute engine and click on VM instances, you will see the below screen
 Click the "CREATE INSTANCE" button, then update some information such as
- Name of instance
- Region
- Zone
- Type of Series, we will keep the same E2 and everything will be the same
- You will find the monthly estimated cost for running this instance on the right panel

Finally, click the create button and wait for a while for Google to create a VM instance for you

Connecting to Compute Engine
The list shows the SSH button for the user to connect to the newly created VM instance. This will open up a new browser window to use it. However, what if we don't want to ssh to the server via the browser? First, you have to add an SSH key to the VM using this link, and then open a terminal on your computer to SSH by following the below command.
ssh -i PATH_TO_PRIVATE_KEY USERNAME@EXTERNAL_IP
In this example, I will use PuTTY Key Generator to create a new SSH key pair. Just open it and click generate

For key comment, you have to put your username, for example: setha_corner564 . After generating the SSH key, please save both the private and public keys. For the private key you can convert from the extension ppk to pem using PuTTY Key Generator by losing the ppk file and then export Open SSH key with new extension pem.
The public key will later be used to add in metadata of the VM instance.

Click button "ADD SSH KEY" and copy and paste the public key with the correct format as below:
ssh-rsa AAAAB3NzaC1yc2EAAAADAQABAAABAQDAu5kKQCPF... cloudysanfrancisco

Finally, using your saved private key to connect to your newly created VM Instance.

About author

SETHA THAY
Software Engineer & Project Manager. I am willing to share IT knowledge, technical experiences and investment to financial freedom. Feel free to ask and contact me.
You may also like