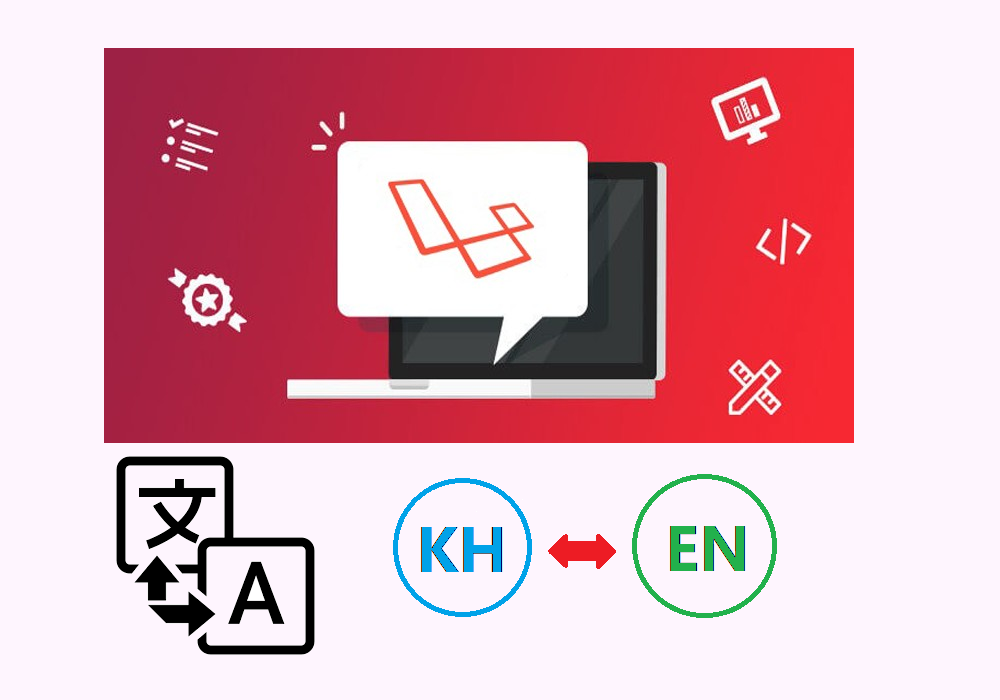
4 simple steps to make your website support multi languages in laravel
The best websites require content that anyone can understand and communicate well with, not just only focus on design, that is why websites like Apple, Microsoft, Amazon take into consideration much on personalize user experience including localization language of their website. This is a way to connect with customers and build strong relationships with them. Customers can easily understand what is the benefit they are trying to offer which the respective customers' languages. Even though English is well known as everyone can understand each other easily, but there is still a needs to develop your website to support multilingual.
Laravel is the best PHP framework so far which can support front-end, back-end, API, and more. The localization feature provides a very convenient way to retrieve strings in various languages, allowing the developer to easily support multiple languages within their applications.
If you are making your website using laravel and trying to look for a solution to translate your website into other languages. You can follow these 4 simple steps below to absolutely make your website working with multilingual like a charm.
STEP 1: Menu to Switch Languages
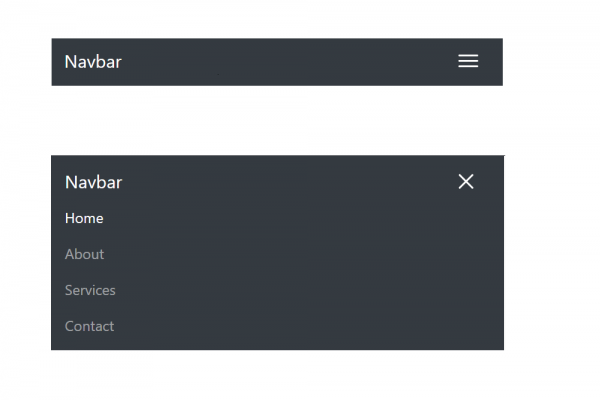
The first thing you have to do is to design a menu for letting users switch to the language they want to view your website. This task is done by using HTML and CSS to create elements in the laravel blade view.
<li class="nav-item dropdown pr-3">
              <a class="nav-link dropdown-toggle" href="#" id="navbarDropdownMenuLink" role="button" data-toggle="dropdown" aria-haspopup="true" aria-expanded="false">
                @if(Session::has('locale'))
                    {{strtoupper(Session::get('locale'))}}
                @else
                    EN
                @endif
              </a>
              <div class="dropdown-menu" aria-labelledby="navbarDropdownMenuLink">
                <a class="dropdown-item" style="color: black !important; font-size: 16px;" href="{{url('locale/en')}}">EN - English</a>
                <a class="dropdown-item" style="color: black !important; font-size: 16px;" href="{{url('locale/kh')}}">KH - Khmer</a>
              </div>
            </li>
You can view your menu in the web browser:

STEP 2: Session to Save Selected Language
As you can see in the above code design menu, we have defined a route locale/{language} which is used to handle switching languages.
- Create a route
Route::get('locale/{locale}', 'IndexController@changeLocale');
- Create a new controller or use an existing one and then write code in function changeLocale
public function changeLocale($locale){
       Session::put('locale', $locale);
       return redirect()->back();
}
The function above is used to save selected language which has been made by the user into session. We will use this session in the next step of defining middleware.
STEP3: Middleware to Handle Translation
- Create localization middleware class
<?php

namespace App\Http\Middleware;

use Closure;
use Session;
use App;

class Localization
{
    /**
     * Handle an incoming request.
     *
     * @param  \Illuminate\Http\Request  $request
     * @param  \Closure  $next
     * @return mixed
     */
    public function handle($request, Closure $next)
    {
        if(Session::has('locale')){
            App::setLocale(Session::get('locale'));
        }
        return $next($request);
    }
}
- Register to kernel.php

STEP4: Define Your Text Translation
Now let define your text and translation text by first create a file label.php both in folder resources/lang/en and resources/lang/kh

All you have to do with these two files are defined the key and value of the text and translation text.
en/label.php
<?php

return [

    "cambodia_geo" => "Cambodia Geography",

];
kh/label.php
<?php

return [

    "cambodia_geo" => "ភូមិសាស្រ្តប្រទេសកម្ពុជា",

];
Finally, you have to change how you write your text in blade view as below and then try to switch language using the menu.
{{ trans('label.cambodia_geo')}}
RESULT


About author

SETHA THAY
Software Engineer & Project Manager. I am willing to share IT knowledge, technical experiences and investment to financial freedom. Feel free to ask and contact me.
You may also like